You’ve made the big decision to expand your home, which is exciting! But now comes the tricky part: figuring out how to do it. For most homeowners, this boils down to one fundamental choice: do you build an extension or a loft conversion?
Think of it this way: an extension adds a brand-new wing to your home, pushing the walls outwards to create more ground-floor space. A loft conversion, on the other hand, takes that forgotten, dusty attic and turns it into a bright, usable room.
Build Up or Build Out: Which Is Right for You?
This is the first, and most important, question you'll answer. Deciding whether to build up into the loft or out into the garden will shape everything about your project, from the final cost to the type of space you create. Neither option is automatically better; the right path really depends on your property, your budget, and what your family truly needs.
An extension physically expands your home’s footprint, usually into your garden or side return. This is the go-to choice if you're dreaming of a large, open-plan kitchen and dining area that flows into the garden, or a spacious new living room. It's all about reimagining your main living area.
A loft conversion is a clever way to add space by using what you already have. It's often the perfect solution for adding a private master bedroom with an en-suite, a quiet home office, or a playroom for the kids, all without sacrificing a single inch of your precious garden.
It’s no surprise that making use of existing space is becoming more and more popular.
The global loft conversion market is currently valued at over $10.6 billion and is expected to nearly double by 2033. This boom is fueled by homeowners in urban areas looking for smart ways to gain more living space.
This massive market growth shows just how many people are realizing the untapped potential sitting right above their heads. You can dive deeper into these trends in this global loft conversion market report.
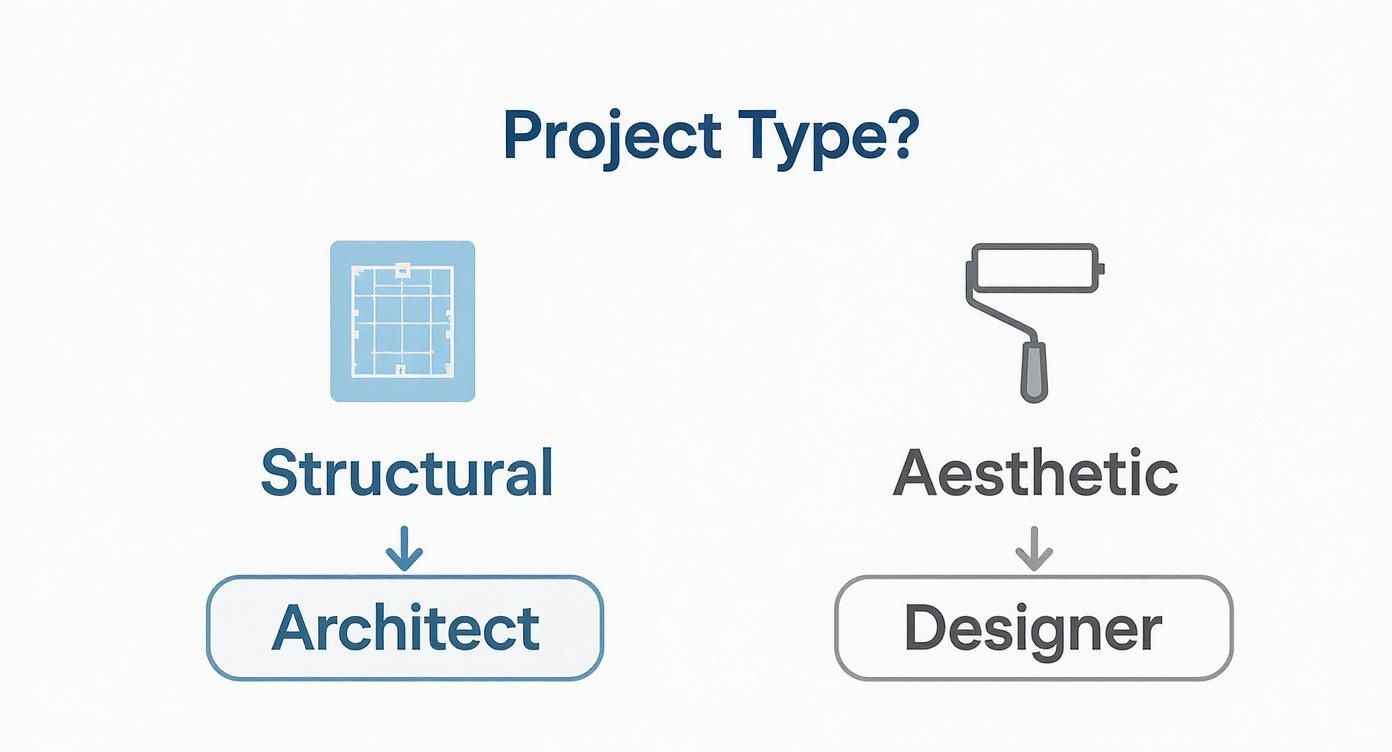
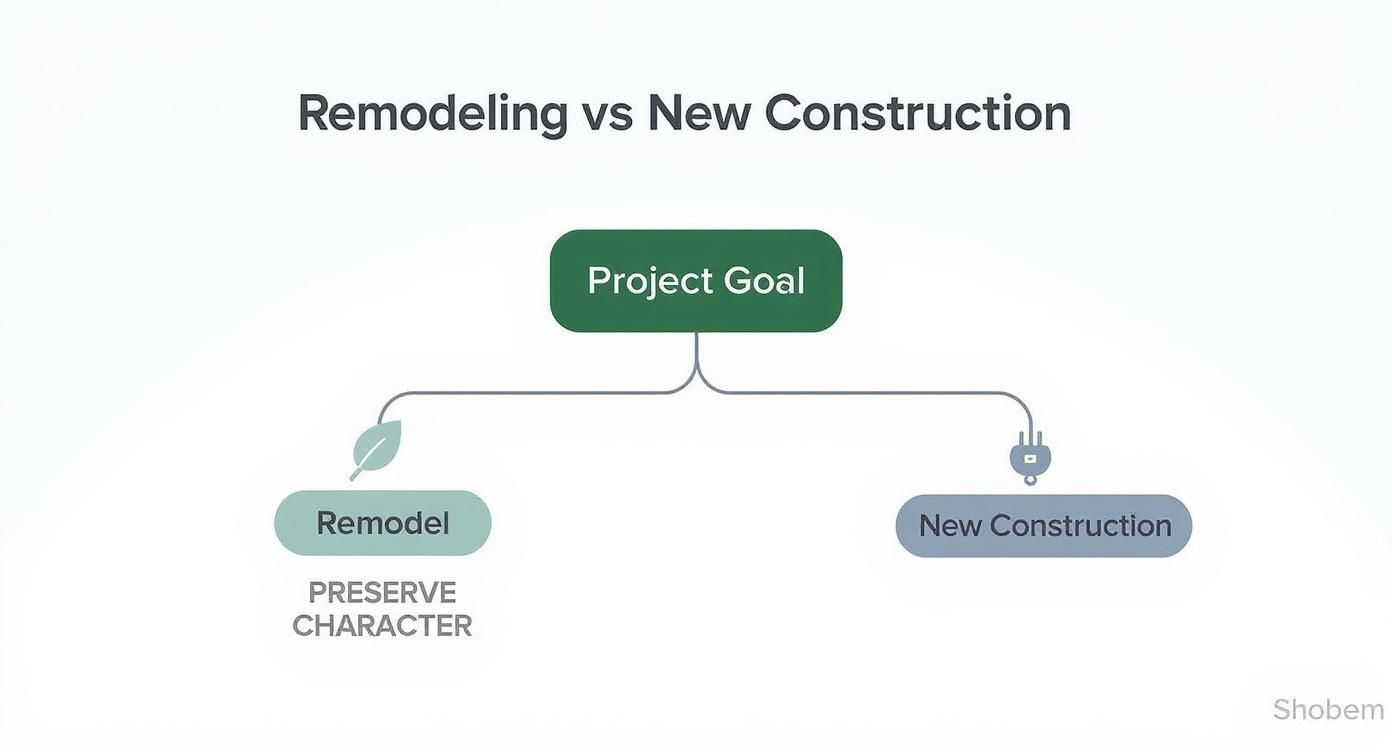
To help you visualize the decision-making process, this infographic walks you through the key questions you should be asking.
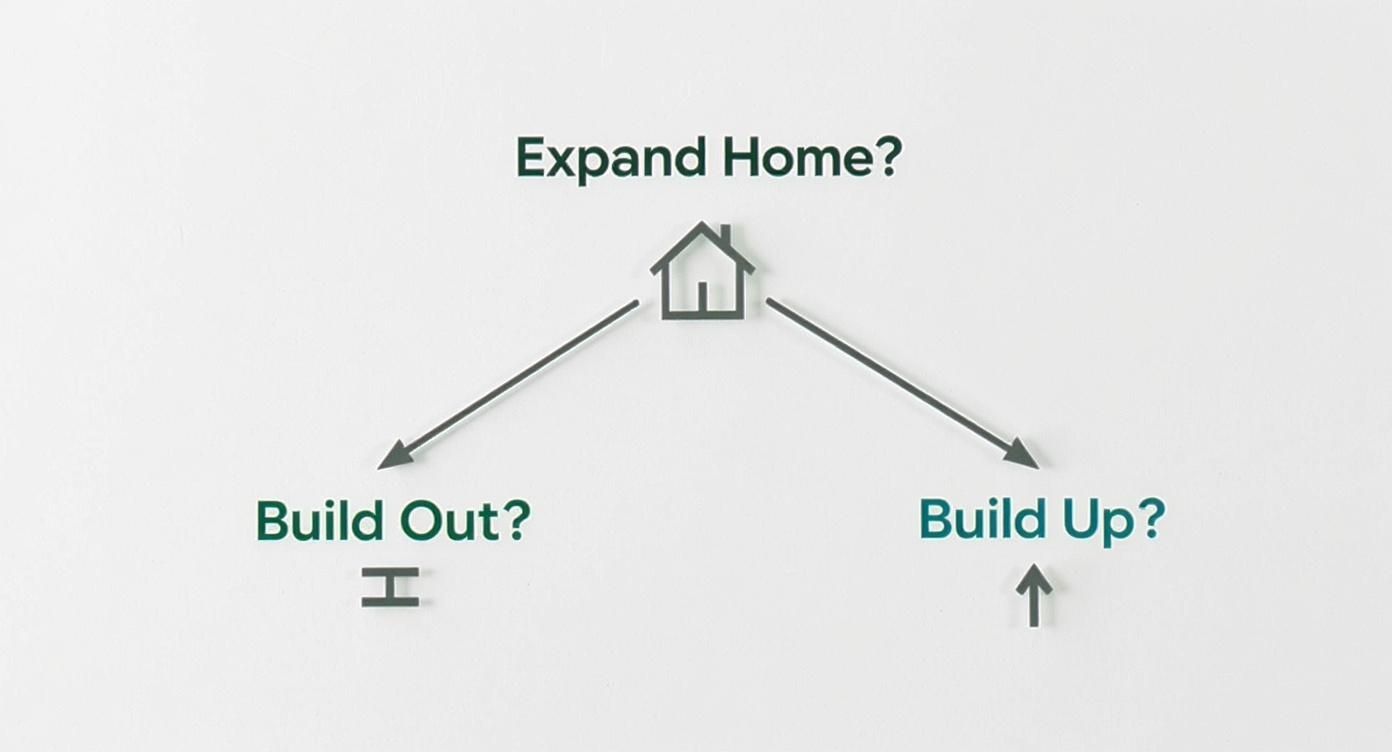
As you can see, the choice often hinges on whether you can afford to lose garden space and what kind of room you’re hoping to create—a new bedroom versus a bigger kitchen, for example.
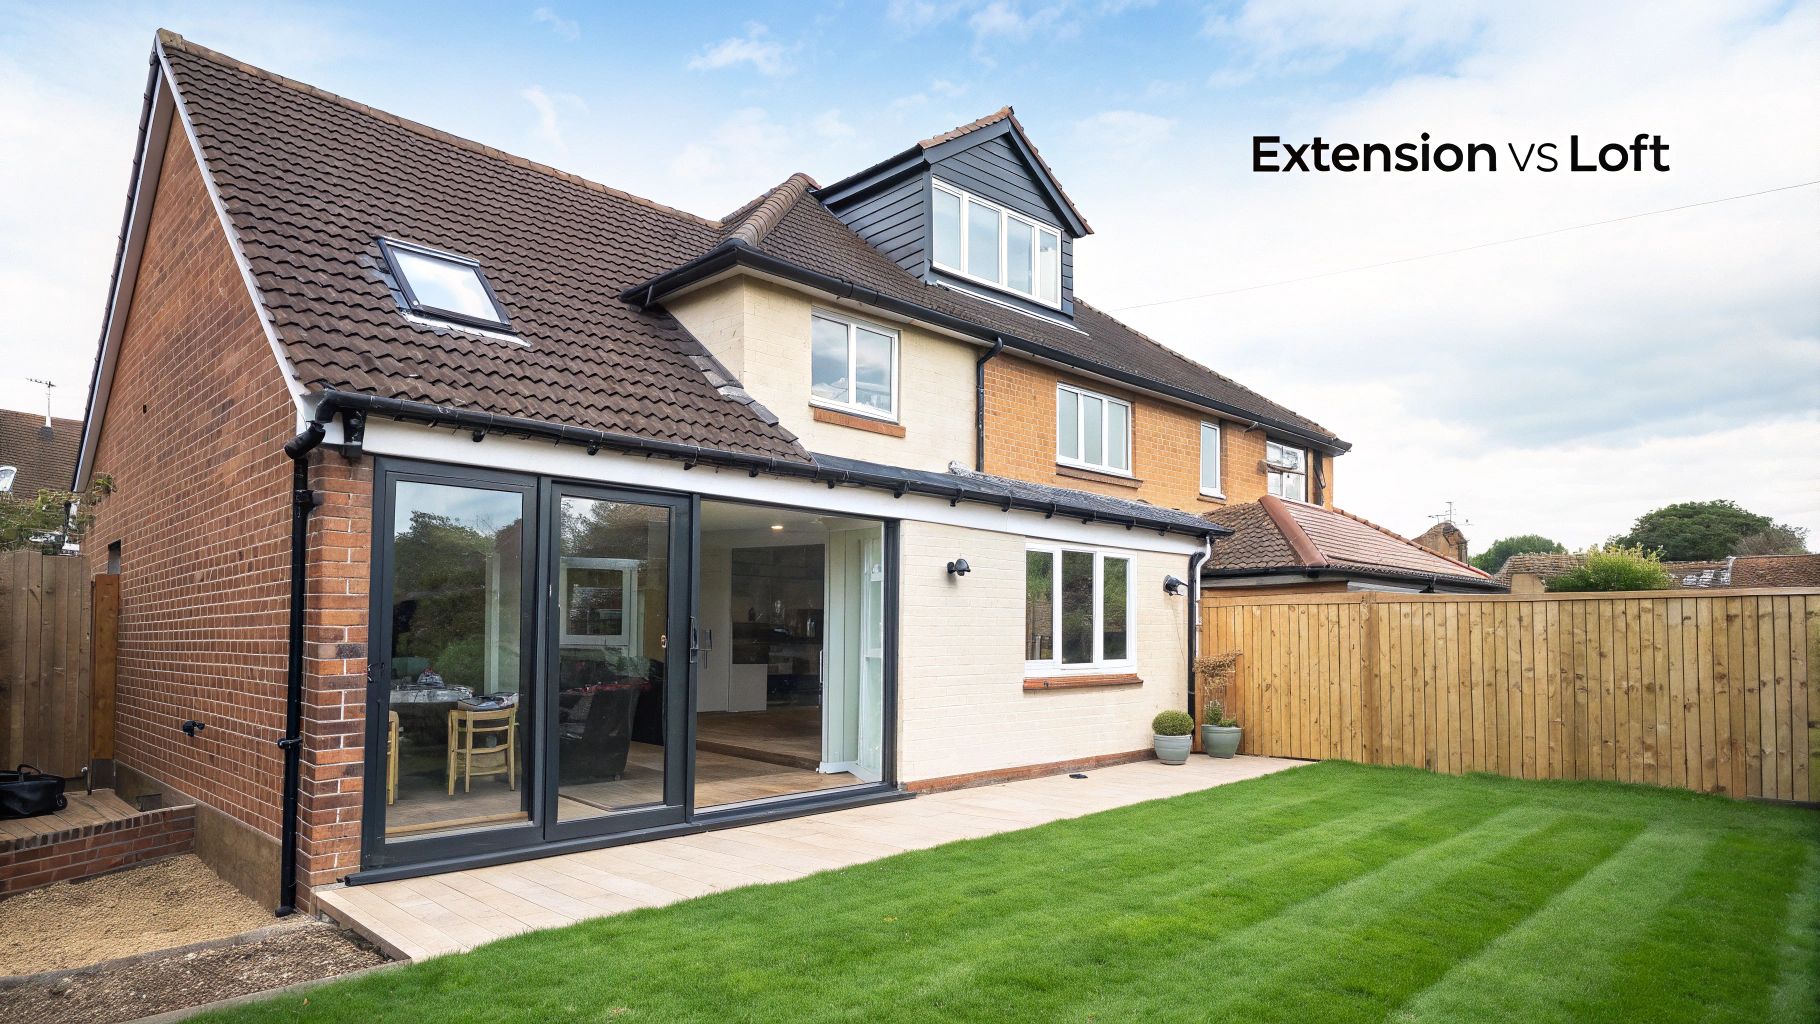
Extension vs Loft Conversion At a Glance
To make things even clearer, let's put the two options side-by-side. Understanding the key differences in cost, disruption, and planning from the very beginning is essential for setting a realistic budget and timeline for your project.
Here’s a quick comparison to help you weigh your options:
| Factor | Home Extension | Loft Conversion |
|---|---|---|
| Space Gained | Brand new ground-floor square footage. | Uses the existing, often wasted, attic space. |
| Garden Impact | Will reduce the size of your garden or outdoor area. | Little to no impact on your garden. |
| Typical Use | Great for kitchens, dining areas, and living rooms. | Ideal for bedrooms, home offices, and bathrooms. |
| Disruption Level | High. Involves significant groundworks and is quite invasive. | Moderate. Most of the work is contained upstairs. |
| Planning | More likely to require full planning permission. | Often falls under Permitted Development rights. |
This table gives you a snapshot of the pros and cons, but remember that the best choice is always the one that fits your home and your lifestyle perfectly.
Exploring Your Renovation Options
So, you've made the big call: you're either building up or building out. Now for the fun part—diving into the specific designs that will make your vision a reality. Getting to know the different kinds of extensions and loft conversions is key to making sure your home's potential perfectly aligns with what your family actually needs.
Think of it this way: you've decided you need an SUV, but now you have to pick the specific model. They all add space, but each type of extension and loft conversion comes with its own unique benefits, layout possibilities, and price tag.
Common Types of Home Extensions
When you decide to extend outwards, you're not just stuck with a boring box. Extensions can be cleverly designed to flood your home with light, create a feeling of spaciousness, and completely change how you use your home.
- Rear Extension: This is the go-to for a reason. You're simply pushing the back wall of your house out into the garden. It’s the classic way to get that big, beautiful open-plan kitchen and dining area, often with bi-fold doors that create a seamless flow between inside and out.
- Side-Return Extension: If you live in a terraced or semi-detached house, you probably have a narrow, gloomy alleyway down the side. A side-return extension fills in this dead space, making your rear room wider and transforming a cramped kitchen into a bright, far more usable area.
- Wraparound Extension: This is the one for a truly dramatic change. A wraparound is basically a side-return and a rear extension combined into a single L-shaped structure. It adds a huge amount of ground-floor space, letting you completely rethink the layout and flow of your home.
- Multi-Storey Extension: When you need the absolute maximum amount of new space, a two-storey (or even three-storey) extension is the way to go. This isn't just about one room; you can add a bigger living area downstairs and a whole new bedroom or bathroom upstairs at the same time.
Of course, each of these options has a direct impact on your garden. A side-return barely touches it, but a big rear or wraparound extension means you'll have to say goodbye to a piece of your lawn or patio.
Popular Loft Conversion Styles
If you've opted to go up instead of out, the style you choose will hinge on your roof's shape, your budget, and how much headroom you want. Turning a dusty old attic into a proper living space is a serious structural job.
A loft conversion is so much more than just sticking a room in the roof. It’s about unlocking the hidden value locked away in your home's existing footprint. All it takes is seeing a neighbour’s finished project—with its incredible views and light-filled spaces—to realise what’s possible.
Let's break down the most common ways to bring your loft to life.
- Velux (Rooflight) Conversion: This is the simplest and most budget-friendly route. It’s all about fitting skylight windows into the existing roof slope with very few structural changes. It’s a great fit for lofts that already have decent headroom.
- Dormer Conversion: A hugely popular choice, a dormer adds a box-like structure that projects from the roof. This gives you vertical walls and a flat ceiling inside, which dramatically increases the usable floor space and headroom. It makes the new room feel less like an attic and more like a proper bedroom or office.
- Hip-to-Gable Conversion: This one's specifically for houses with a hipped roof (where the roof slopes down on three or four sides). The project involves replacing one of the sloping "hips" with a vertical wall, known as a gable end. This single change massively increases the internal volume, and a dormer is often added to the back as well.
- Mansard Conversion: As the most extensive and costly option, a mansard conversion essentially changes your entire roof structure. It creates what feels like a whole new storey with nearly vertical walls, giving you the maximum possible space. Planners in conservation areas sometimes prefer this style as it can be more in keeping with older properties.
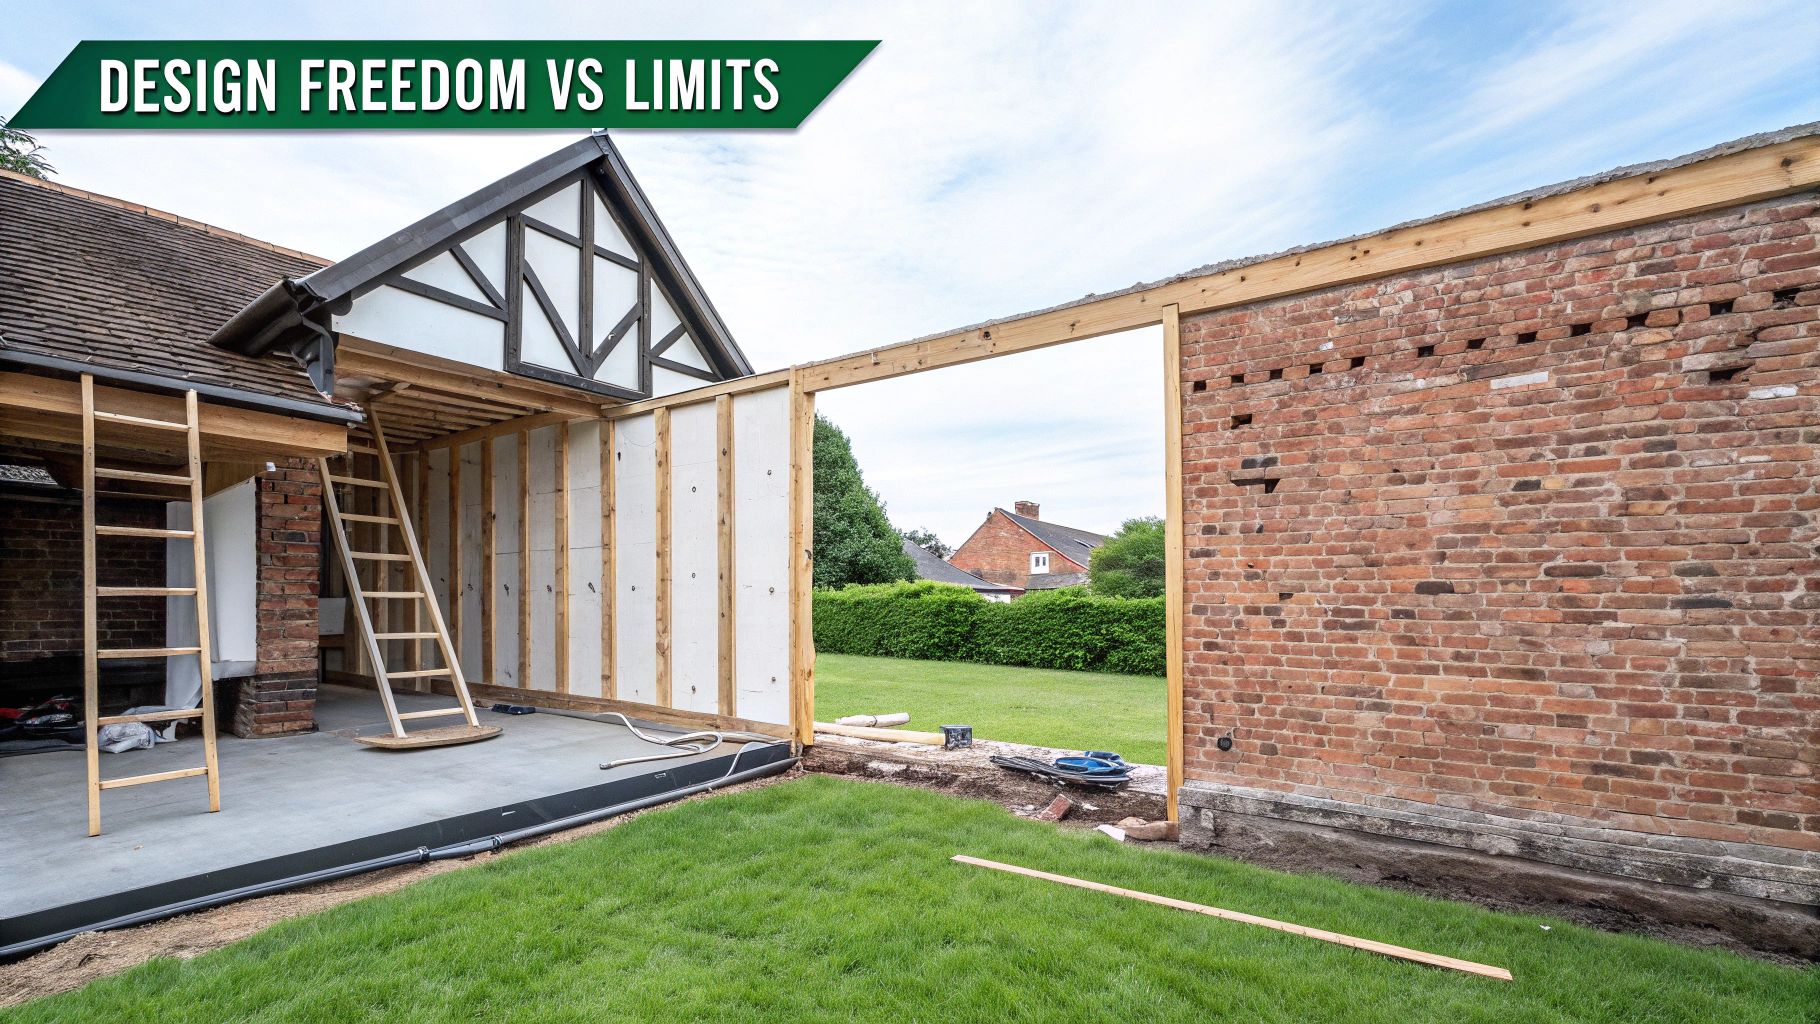
Picking the right type of extension and loft conversion is a balancing act. You have to weigh your dream space against the real-world limits of your property and local planning rules. By getting a handle on these options, you can start building a much clearer picture of how to best improve your home.
Getting to Grips with Planning and Regulations
Starting an extension or loft conversion is exciting, but it also means wading into the less glamorous, but absolutely crucial, world of paperwork. The two big hurdles you'll encounter are Planning Permission and Building Regulations. It’s easy to mix them up, but they look at your project through completely different lenses.
Think of Planning Permission as being concerned with the bigger picture—how your project affects your neighbourhood's look and feel. It asks questions like: "Will this extension block your neighbour's light?" or "Does the design fit with the character of the street?" It’s all about the external impact.
Building Regulations, on the other hand, are the guardians of safety and quality. They don’t care what colour your new windows are, but they care a great deal about whether the structure is sound, properly insulated, and safe in a fire. Both are legal requirements, but you won't always need a full application for both.
The Shortcut: Permitted Development Rights
The good news is that many smaller extensions and loft conversions can sidestep a full planning application. This is thanks to something called Permitted Development (PD) Rights. These are essentially a green light from the government allowing certain home improvements, as long as you play by a strict set of rules on size and design.
Sticking within these limits means a faster, simpler approval process. But be warned: the rules are incredibly specific, and local councils can withdraw these rights, especially for listed buildings or homes in conservation areas.
To keep a loft conversion under PD rights, you generally need to follow these rules:
- Volume Limits: You can’t add more than 40 cubic metres of space to a terraced house, or 50 cubic metres to a semi-detached or detached home.
- Height Rules: The new structure can’t sit any higher than the highest point of your existing roof.
- Matching Materials: Exterior materials should be similar in appearance to the rest of the house.
- No Balconies: Verandas and balconies are a definite no-go under Permitted Development.
For a single-storey rear extension, the main rule is how far out you can build:
- Terraced/Semi-Detached: The limit is usually 3 metres from the original back wall.
- Detached Homes: You get a bit more leeway, up to 4 metres from the original back wall.
If your dream design steps over these lines, you'll have to go down the full planning application route.
A quick pro-tip: even if your project is covered by Permitted Development, I always recommend applying for a Lawful Development Certificate (LDC). It’s an official document from the council confirming your build was legal. You’ll be very glad you have it when it comes time to sell your home.
The One You Can't Skip: Building Regulations
Here’s the key takeaway: whether you need Planning Permission or not, you will always need Building Regulations approval. This is non-negotiable. It’s a separate process that ensures your new space is safe, structurally sound, and energy-efficient.
A building control inspector—either from the council or a private approved company—will visit your site at key stages to sign off on the work. They have a checklist of critical areas they need to see.
Here's what they'll be looking at:
- Structural Integrity: This involves an engineer's calculations to prove the new floors and beams can handle the load.
- Fire Safety: This is a huge one, especially for lofts. It means installing mains-powered smoke alarms, fire-resistant doors, and having a clear escape route.
- Staircase Design: The stairs to your new space must meet specific rules for steepness, width, and headroom to prevent accidents.
- Insulation: To meet modern energy standards, the walls, floor, and roof must be insulated to a very high level.
- Ventilation: The space needs proper ventilation to stop damp and keep the air fresh.
Trying to bypass Building Regulations is a recipe for disaster. The council has the power to make you tear the work down at your own expense. Getting these two processes right from the very start is the bedrock of a smooth, successful project.
Creating a Realistic Project Budget
Let's talk about money. A solid, realistic budget is the foundation of any successful home renovation, long before the first brick is laid. While those quick per-square-metre estimates you see online can give you a ballpark figure, they rarely paint the full picture of what an extension and loft conversion truly costs.
To get this right, you have to dig deeper. You need a financial roadmap that accounts for everything—from the architect's first sketch and the engineer's calculations right down to the final lick of paint and the light fittings. This isn't just about avoiding nasty surprises; it's about being in control of your project from start to finish.
Breaking Down the Core Costs
Every building project is a cocktail of professional fees, materials, and labour. Getting a handle on these individual parts is the first step to building a budget you can actually rely on.
Of course, these costs aren't set in stone. They can swing quite a bit depending on a few key things:
- Location: Where you live matters. Building costs in London and the South East can easily be 20% higher than in other parts of the UK.
- Complexity: A straightforward, box-shaped extension is a different beast entirely from a custom design with intricate rooflines, huge glass panels, or other unique architectural quirks. The more complex, the higher the cost.
- Specification: This is a big one. The quality of finishes you choose—from the tiles and flooring to the kitchen cabinets and taps—will have a massive impact on the final number on your invoice.
To get a head start on estimating some of the major expenses, you might find it helpful to use tools like a roofing cost calculator to get a feel for those big-ticket items.
Sample Project Cost Breakdown
To show you what this looks like in practice, here’s a sample breakdown comparing how the budget might be split for a typical mid-range rear extension versus a standard Dormer loft conversion. These are just estimates, but they give you a clear idea of where the money goes.
| Cost Component | Mid-Range Rear Extension (Est. £) | Dormer Loft Conversion (Est. £) |
|---|---|---|
| Professional Fees | £4,000 – £8,000 | £3,000 – £6,000 |
| (Architect, Engineer, Surveys) | ||
| Main Structure | £25,000 – £40,000 | £20,000 – £30,000 |
| (Foundations, Walls, Roof) | ||
| External Finishes | £5,000 – £10,000 | £4,000 – £8,000 |
| (Doors, Windows, Cladding) | ||
| Internal Finishes | £8,000 – £15,000 | £7,000 – £12,000 |
| (Plastering, Electrics, Plumbing) | ||
| Kitchen/Bathroom Fit-Out | £10,000 – £20,000 | £5,000 – £10,000 |
| Decorating & Flooring | £3,000 – £6,000 | £2,000 – £5,000 |
| VAT (at 20%) | Included in above estimates | Included in above estimates |
What's clear is that while the structural work is a huge chunk, the fit-out and finishing touches add up fast. It’s a classic homeowner mistake to focus only on the shell and then get caught out by the cost of making the space actually liveable.
The Essential Role of a Contingency Fund
Here's a piece of advice I give every single client: no matter how perfectly you plan, something unexpected will happen. It’s the nature of construction. You might uncover a hidden structural issue, a supplier might delay a crucial delivery, or you might just change your mind about the tiles you picked out months ago.
That's precisely why you need a contingency fund.
Think of a contingency fund as your project's insurance policy. It's not 'extra' money; it's a planned part of the budget specifically set aside to handle the unexpected without derailing the entire project or forcing you to compromise on quality.
I always recommend setting aside 10-15% of your total construction cost. So, if your build is budgeted at £50,000, that’s a £5,000 to £7,500 buffer.
Having that safety net gives you incredible peace of mind. It turns a potential crisis into a manageable problem, allowing you to make smart decisions under pressure. Honestly, it’s the difference between a stressful, compromised build and one that runs smoothly and ends successfully.
Designing a Smart and Functional Living Space
Great design is what turns extra square footage into a space that genuinely makes your home, and your life, better. This is the point where you stop thinking about bricks and blueprints and start imagining how the new room will actually feel. It’s about creating a space you’ll love spending time in, day in and day out.
A truly successful design comes down to getting three things right: light, flow, and the clever practical details. Nail these, and your new addition will feel like it was always meant to be there, not just a box tacked onto the side of your house.
Let There Be Light
Natural light is probably the most powerful tool in any designer's arsenal. A bright, sun-filled space just feels bigger and more welcoming, and it’s a proven mood-booster. Making the most of daylight should be one of your biggest priorities right from the start.
Here are a few tried-and-true ways to do it:
- Skylights and Rooflights: These are absolute game-changers, especially in a loft. They can drench areas in light that normal windows could never reach, like a dark stairwell or the middle of a room. A well-placed skylight isn’t just a window; it’s a beautiful architectural feature.
- Glazing with a Purpose: For an extension, big glass elements like bifold or sliding doors are perfect for erasing the boundary between inside and out. But don't just stop at the back wall. Think about adding high-level windows or thin vertical panes to catch the sun as it moves across the sky.
- Internal Glazing: Want to pull light deeper into the rest of your home? Consider using glass partitions or doors internally. This is a brilliant trick to "borrow" sunlight from your bright new extension and share it with darker, central parts of the original house.
Creating a Seamless Flow
The journey from your existing home into the new space should feel completely natural. The last thing you want is an awkward corridor or a pinch point that makes the layout feel clunky and disconnected. The goal is an intuitive path that ties the old and new together seamlessly.
If you're planning on opening up walls or making any other major structural changes to improve this flow, you'll need expert structural engineering solutions to make sure it’s all done safely. An engineer will figure out the best way to reconfigure the layout without compromising your home’s structural integrity.
In a loft conversion, the staircase isn't just for getting up and down. It's a crucial piece of the design puzzle that dictates the flow of the entire floor below it. Its placement and style need to feel deliberate and integrated.
The Practical Details That Matter Most
Beyond the big picture, a truly great space is comfortable, quiet, and just plain easy to live with. It’s easy to overlook the practical stuff, but getting it wrong can ruin an otherwise beautiful design.
Insulation and soundproofing are two of the most critical elements people underestimate. Good insulation isn't just about ticking a box for building regulations; it’s what keeps your new room cozy in the winter and cool in the summer without sending your energy bills through the roof.
This is especially true for loft insulation, a market that's booming as everyone focuses on energy efficiency. The right materials can slash your heating and cooling costs by 30% or more in a well-insulated space, a huge step towards a more sustainable home. You can find out more about the growing loft insulation market on archivemarketresearch.com.
Likewise, soundproofing is a must, particularly for loft bedrooms sitting above living areas. Using acoustic insulation in the walls and floors stops noise from travelling, keeping things peaceful for everyone. Finally, don't forget the small things—get the placement of your plug sockets, light switches, and radiators right from the start. This is how you make sure your new space isn't just bigger, but genuinely better.
Managing Your Project from Start to Finish
Alright, the plans are signed off and the budget is set. Now for the exciting part—turning those drawings into a real, physical space. Managing your extension or loft conversion is where the rubber meets the road. It’s all about finding the right team to bring your vision to life, knowing what to expect from the schedule, and keeping the lines of communication wide open.
Honestly, the single biggest decision you’ll make from here on out is choosing your builder. A great contractor is your partner in this, not just a hired hand. Get this choice wrong, and you could be facing stressful delays and expensive mistakes. Taking your time to vet them properly is absolutely essential.
Finding and Vetting Your Builder
Don’t rush this. The best place to start is often by asking for recommendations from friends, family, or even your architect. A word-of-mouth referral is worth its weight in gold. Aim to get a shortlist of three or four potential builders, and then it's time to do some digging.
Here's a simple checklist to follow when you're vetting them:
- See Their Work: Ask to look at past projects, especially ones similar in scale to yours. If you can, chat with their previous clients to get a real feel for how they work.
- Check Their Credentials: At a bare minimum, they must have public liability insurance. For bigger jobs, it’s a good sign if they’re members of a trade body like the Federation of Master Builders, as it adds another layer of accountability.
- Get Detailed Quotes: Never settle for a single figure scribbled on a piece of paper. A professional quote breaks everything down—labour, materials, specialist trades. This transparency is the only way you can compare offers like-for-like.
- Talk Timelines: Get a proposed start date and a realistic estimate for completion. Things can and do shift, but a good builder will be able to give you a clear schedule from the outset.
Think of the relationship with your builder as a partnership. It has to be built on trust and clear communication. Choosing a team you can actually talk to is just as vital as their technical skill. It's what will get you through the small bumps in the road that pop up on any project.
Understanding the Project Timeline
While no two jobs are identical, the construction process usually follows a well-trodden path. Knowing these stages helps you make sense of the activity on-site and anticipate what decisions are coming your way next. From digging the foundations to putting up the structural frame and finishing with the final lick of paint, there’s a logical flow to it all.
Your job during the build is to stay involved. Be ready to answer questions on the fly—things like where exactly you want the plug sockets or what paint finish you've chosen. Popping by the site regularly keeps the project moving, catches small issues before they become big ones, and ensures everyone is on the same page. Staying engaged is the best way to make sure the project finishes on time, within budget, and to the standard you dreamed of.
Got Questions? We've Got Answers
Thinking about a major home renovation like an extension or loft conversion is a huge step, and it's only natural to have a long list of questions. Getting the right information upfront is the key to a smooth, successful project.
Which Adds More Value: An Extension or a Loft Conversion?
Honestly, both can give your home's value a serious bump, often adding 15-20%. The smart money is often on a loft conversion, which tends to offer a better return on your investment simply because you're making use of space you already own.
That said, a beautifully designed ground-floor extension creating a stunning open-plan kitchen and living area can sometimes add more in pure pounds. This is especially true in family neighbourhoods where a big, sociable kitchen is a top priority for buyers.
The real answer is found in your local market. Take a look at what's selling nearby. Are buyers paying a premium for an extra bedroom upstairs or for that sprawling ground-floor living space? That will tell you everything you need to know.
How Long Does the Actual Build Take?
This really depends on how big and complex your plans are. Timelines can shift, but here's a general guide for the construction phase itself:
- Loft Conversions: A straightforward Velux conversion can be wrapped up in just 6-8 weeks. A more involved Dormer or Hip-to-Gable loft will likely take 10-14 weeks.
- Extensions: For a typical single-storey rear extension, you should budget around 12-16 weeks from the day the builders break ground.
Remember, these timeframes don't include the initial design and planning permission stages, which can easily add a few months to the total project timeline.
Can We Live in the House While the Work is Happening?
For a loft conversion, absolutely. It's usually quite straightforward to stay put. Most of the messy, noisy work happens up in the roof, and the builders won't need to break through into your main living space until the very end to fit the new staircase.
Living through an extension can be a bit more disruptive, particularly if the project involves your kitchen or main living room. It's definitely possible to stay, but you have to be prepared for the dust, noise, and general chaos. Some people choose to move out for a few weeks during the most intense parts of the build just to keep their sanity.