
When you first open a set of architectural drawings, it can feel like trying to decipher an ancient text. The sheer number of sheets, lines, and symbols can be overwhelming, especially for clients and stakeholders who don't live in this world every day.
The secret isn't to memorize every symbol overnight, but to learn how to navigate the set. Think of it like a map. Once you understand the legend and how to find your starting point, the whole journey becomes clearer.
Your First Look at a Set of Architectural Drawings
Every professional drawing set is organized with a clear logic, moving from the big picture down to the smallest details. It's a system designed to guide you through the project's story, piece by piece. Knowing where to begin is half the battle.
Start with the Title Block
Before you even try to understand a floor plan or an elevation, find the title block. This is the rectangular box of text, almost always located in the bottom-right corner of the sheet. It's the drawing's Rosetta Stone.
Seriously, don't skip it. The title block is packed with crucial context:
- Project Name and Location: First things first, make sure you're even looking at the right project.
- Sheet Title and Number: This tells you exactly what you're seeing ("First Floor Plan," "Building Section A") and where it fits in the full set (e.g., A-101).
- Architect's Information: Shows who is responsible for the design.
- Drawing Scale: This is absolutely critical. It defines the ratio of the drawing to the real world (e.g., 1/4" = 1'-0").
- Revision History: A log of changes. Always check this to make sure you're working from the latest version and not an outdated plan.
Always check the title block first. I've seen meetings go completely off the rails because someone was looking at an old revision. It's the single most important habit to build.
The Core Drawing Types
With your bearings set, you can start to make sense of the main drawings that tell the project's story. A complete set might contain dozens of specialized drawings, but nearly everything boils down to three fundamental views: plans, elevations, and sections.
Before we dive into each one, here's a quick reference guide to the essential elements you'll find on nearly every architectural drawing sheet. Think of this as your cheat sheet for getting oriented quickly.
Key Components of an Architectural Drawing Sheet
| Component | What It Tells You | Why It's Important |
|---|---|---|
| Title Block | The drawing's ID: project name, sheet title, number, scale, and revision date. | Provides immediate context so you know exactly what you're looking at. |
| North Arrow | The orientation of the building or site relative to true north. | Essential for understanding sunlight, site context, and how the building is positioned. |
| Scale Bar | A graphical representation of the drawing's scale (e.g., a marked line showing 10 feet). | Allows for quick visual measurement without needing a special ruler. |
| Key Plan | A small diagram showing which part of the overall building this specific sheet focuses on. | Helps you locate where a detailed drawing fits into the larger project. |
| Legend/Key | A list of symbols, line types, and abbreviations used on the sheet and what they mean. | The "dictionary" for the drawing, translating symbols into real-world items like doors or outlets. |
This table covers the "metadata" of a drawing. Getting comfortable with these components will make reading the actual plans, elevations, and sections much more intuitive.
A plan is a bird's-eye view, looking straight down as if the roof were removed. This is where you'll see the layout of rooms, the thickness of walls, and the locations of doors and windows. It's all about horizontal relationships and flow.
An elevation is what the building looks like from the outside, viewed head-on. You'll have a separate elevation for each side (North, South, East, West). This is where the building's aesthetic comes to life—you'll see exterior materials, window styles, and roof pitches.
A section is like slicing a cake. It's a cut through the building that reveals its internal construction. Sections are invaluable for understanding vertical relationships, like ceiling heights, floor thicknesses, and how different levels connect.
These three views work together. A floor plan shows where a window is, the elevation shows what it looks like, and a section shows how tall it is from the floor. Understanding this interplay is the foundation to read construction blueprints like a pro. Once you've got this down, you're ready to tackle the finer details.
Getting to Know the Main Architectural Plans
Architectural drawings tell the story of your project from several different angles. The real trick to understanding them is learning how these views connect. Don't think of them as separate documents; they're more like interconnected layers that, when pieced together, give you a complete, three-dimensional picture of the final build.
We'll start with the widest view and zoom in from there, looking at the three most common types of plans you'll see in any set of drawings. Each one answers a different, crucial question about your future space. This whole system is organized to move from the macro to the micro, as you can see below.
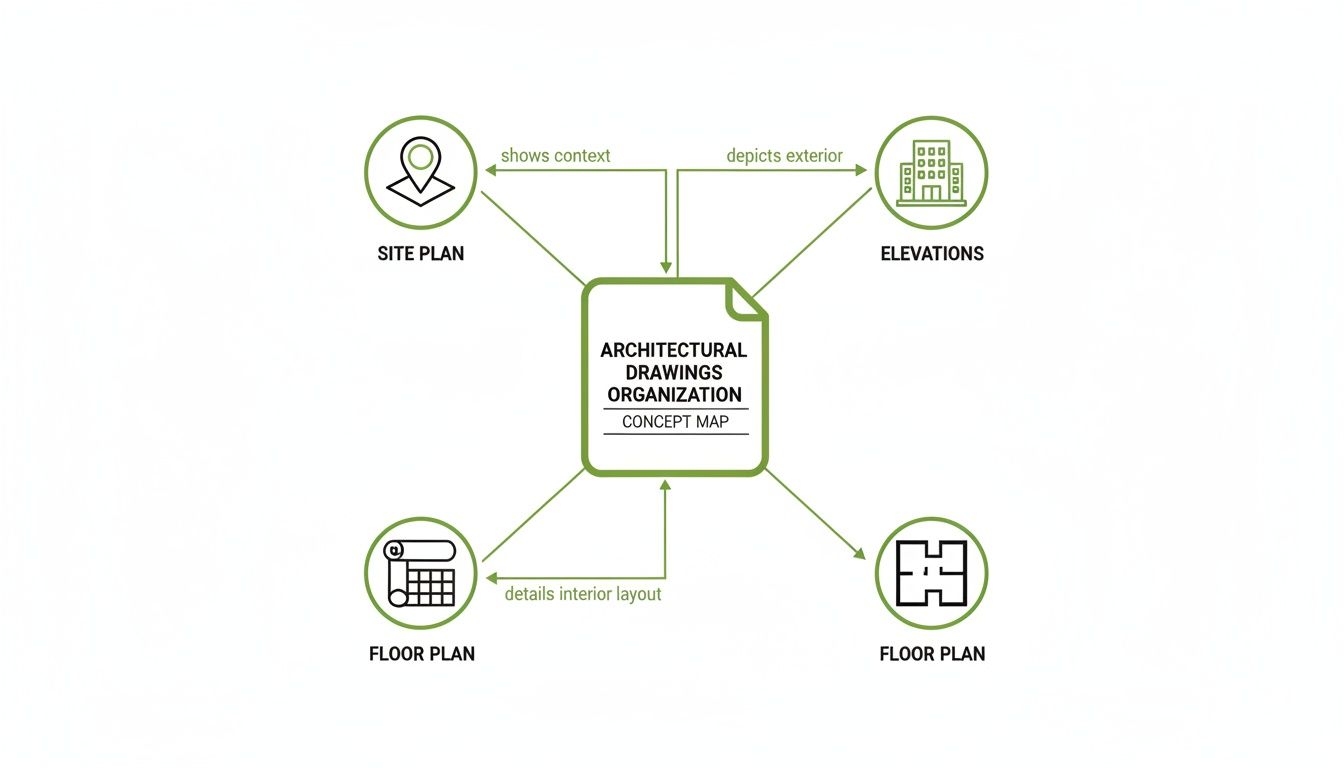
This map shows how everything ties together—the site plan gives context, the floor plan details the layout, and the elevations show what it all looks like from the outside.
The Site Plan: The 30,000-Foot View
First up is the site plan. This is your project's command center, a top-down view of the entire property that shows how the building fits into its surroundings. It’s where you see the forest before you start looking at the individual trees.
But a site plan is about much more than just the building's footprint; it’s all about context. Here’s what you’ll find:
- Property Lines: The legal boundaries of your land.
- Building Placement: Exactly where the structure sits, including setbacks from property lines.
- Topography: Contour lines that map out the slope and elevation changes across the site.
- Landscaping: Locations for trees, walkways, driveways, and any planned green space.
- Utilities: Where connections for water, sewer, gas, and electricity will be.
Let's say you're developing a new retail space. The site plan is what will show you exactly where customer parking is, how shoppers will walk from the street to your front door, and how delivery trucks will get to the back. It’s the master plan for the whole property.
The Floor Plan: Stepping Inside
Once you've got the lay of the land, the floor plan takes you inside. This is the drawing most people recognize—it’s that classic bird's-eye view, as if someone sliced the roof off to show the layout of a single level. As you get comfortable with the different plan types, it’s a good idea to begin to understand how to read floor plans specifically, since they are the heart of any design.
The floor plan is all about the relationship between spaces. You can see the flow from a lobby to conference rooms, get the exact dimensions of an office, and pinpoint the locations of every wall, door, and window. This drawing answers the most important question: "How will this space actually work?"
A floor plan isn't just a layout; it's a script for how people will move and interact inside the building. Try to trace your own path from the entrance to your office. Does it feel natural? Can you spot potential bottlenecks? Figuring this out now will save you from major headaches down the road.
This is also where the details start to come into focus. Look for symbols that show plumbing fixtures in the restrooms, casework for reception desks, and which way the doors swing—a small detail that’s critical for accessibility and figuring out where furniture can go.
The Reflected Ceiling Plan: A Look Up
Finally, let's look up. The Reflected Ceiling Plan (RCP) can be a little strange at first glance. It’s another top-down view, but this time, you’re looking at a mirror image of the ceiling as if it were projected onto the floor below.
Why a mirror image? Because the RCP is the master coordinator for everything happening overhead. It’s the roadmap for your electricians, HVAC technicians, and lighting designers. On an RCP, you'll find:
- Lighting Fixtures: The precise location and type of every single light.
- HVAC Vents: Where the supply and return air diffusers are located.
- Fire Safety Systems: The placement of sprinkler heads and smoke detectors.
- Ceiling Finishes: Details on materials, like acoustic ceiling tiles or an exposed concrete finish.
For instance, while a floor plan might show a large conference room, the corresponding RCP will detail the exact grid of recessed lights, where the projector will be mounted, and how the air conditioning vents are positioned for everyone’s comfort. It’s an essential, though often overlooked, part of the puzzle.
While plans give you that crucial bird's-eye view, they don't tell the whole story. To truly understand a building's three-dimensional form, its appearance, and how it’s all put together, you need to look at a different set of drawings. Elevations, sections, and details are what bring the flat layout to life. Learning to connect these different views is the key to seeing the project as a single, coherent vision.
This method of cross-referencing different views has deep roots. It was largely standardized during the Renaissance, with Andrea Palladio’s 1570 masterpiece, I Quattro Libri dell'Architettura, setting the stage. His work used precise orthographic projections—the front, side, and top views we still rely on today. This system brought incredible clarity to construction, and its core principles live on. Modern Building Information Modeling (BIM) workflows, which are built on this idea of integrated views, have been shown to slash project misinterpretations by up to 30%. To see how these foundational ideas developed, you can explore the rich history of architectural drawings.
To help clarify the role of each drawing, let's look at what each one is designed to communicate.
Table: Drawing Types and Their Purpose
| Drawing Type | Perspective | Key Information Provided |
|---|---|---|
| Elevation | Looking at the building from the outside, straight on. | Shows exterior finishes, window/door styles, roof shape, and overall aesthetic. |
| Section | An imaginary vertical slice through the building. | Reveals interior ceiling heights, floor/roof construction, and how spaces connect vertically. |
| Detail | A magnified, close-up view of a specific connection. | Shows how different materials and components are assembled at a critical junction. |
This table provides a quick reference, but let's dive into what you'll actually see on each of these sheets and why it matters for your project.
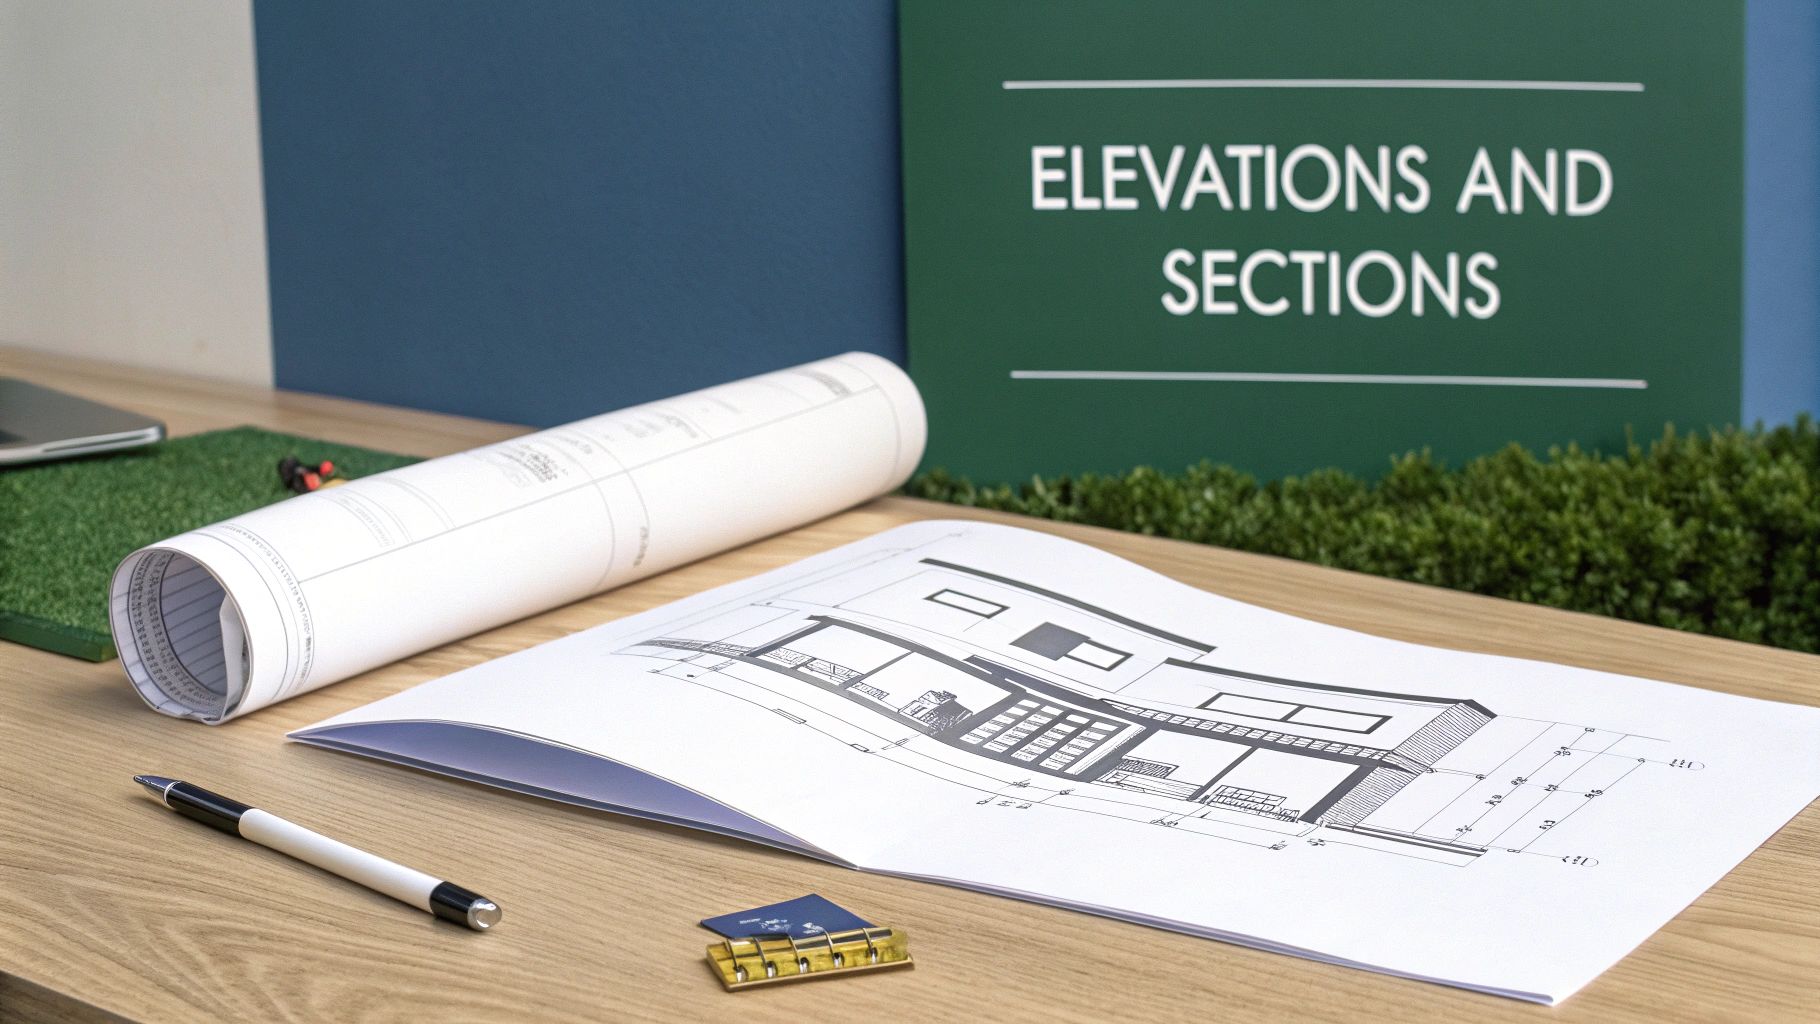
Elevations: The Face of Your Building
Think of an elevation as a flat, head-on photograph of one of your building's exterior faces. A complete set usually gives you four primary views, one for each side of the building, labeled according to the direction they face: North, South, East, and West.
These drawings are all about the building's curb appeal and external features. This is where your architect communicates the final look and feel.
On an elevation, you'll find things like:
- Exterior Materials: Finishes like brick, metal paneling, or stucco are shown and labeled.
- Window and Door Styles: You'll see the exact design, size, and placement of all exterior doors and windows.
- Rooflines: The elevation clearly shows the pitch, shape, and material of the roof.
- Vertical Heights: Key dimensions are noted here, like the height from the ground to the eaves or from one floor to the next.
For example, if you're reviewing plans for a new storefront, the front elevation is where you'll see the scale of the display windows, the design of the main entrance, and exactly where your signage will be placed. It’s your first look at the finished product.
Sections: Slicing the Building in Half
If an elevation is the outside view, a section drawing gives you a look inside by making an imaginary vertical cut right through the building. Picture slicing a layer cake and looking at it from the side—that's a section. It reveals the building's internal anatomy and how all the different parts stack up.
Section drawings are absolutely critical for understanding the building's structure and the feeling of its interior volumes. On your floor plan, you’ll see a "section cut line"—a long line with an arrow at each end—showing precisely where this imaginary slice was made and which direction you're looking.
A section reveals crucial information you can't get from other drawings:
- Ceiling Heights: This is the only place to truly see and confirm the height of each room.
- Floor and Roof Construction: You can see the thickness of floor slabs and the layered assembly of the roof structure.
- Vertical Relationships: Sections clearly show how stairs connect different levels, how atriums or light wells are constructed, and what double-height spaces actually feel like.
A section cut is the ultimate reality check for a building’s interior. It’s where you can really visualize the experience of being in the space—confirming a ceiling feels tall enough or that a staircase is as grand as you pictured.
Details: The Magnifying Glass
Finally, detail drawings zoom in on specific, complex areas where multiple materials or components come together. While a section might show an entire wall, a detail drawing will show exactly how the window is sealed into that wall, complete with every layer of flashing, insulation, and sealant.
These drawings are done at a much larger scale (like 1 1/2" = 1'-0" or even bigger) to show these intricate connections with perfect clarity. They are absolutely essential for the builder to ensure quality construction and prevent future problems like water leaks or air infiltration.
You’ll typically find detail drawings for tricky areas such as:
- Window head, jamb, and sill conditions
- Roof-to-wall intersections
- Foundation and footing connections
- Custom-built features like reception desks or stair railings
By learning to move between these three types of drawings, you get the complete picture. The elevation shows you the beautiful custom window, the section shows you its height within the wall, and the detail drawing shows the builder exactly how to install it to perfection.
4. Getting to Grips with Scales, Symbols, and Schedules
If the plans and elevations are the main story of a project, then the scales, symbols, and schedules are the fine print where all the critical details live. This is where you move from the big picture to the nuts and bolts—confirming the real-world size of a conference room, identifying every single electrical outlet, and finding the exact model number for the lobby doors.
Getting this part right is absolutely essential. Misinterpreting these elements is one of the quickest ways for a project to go off the rails, leading to costly mistakes and delays.
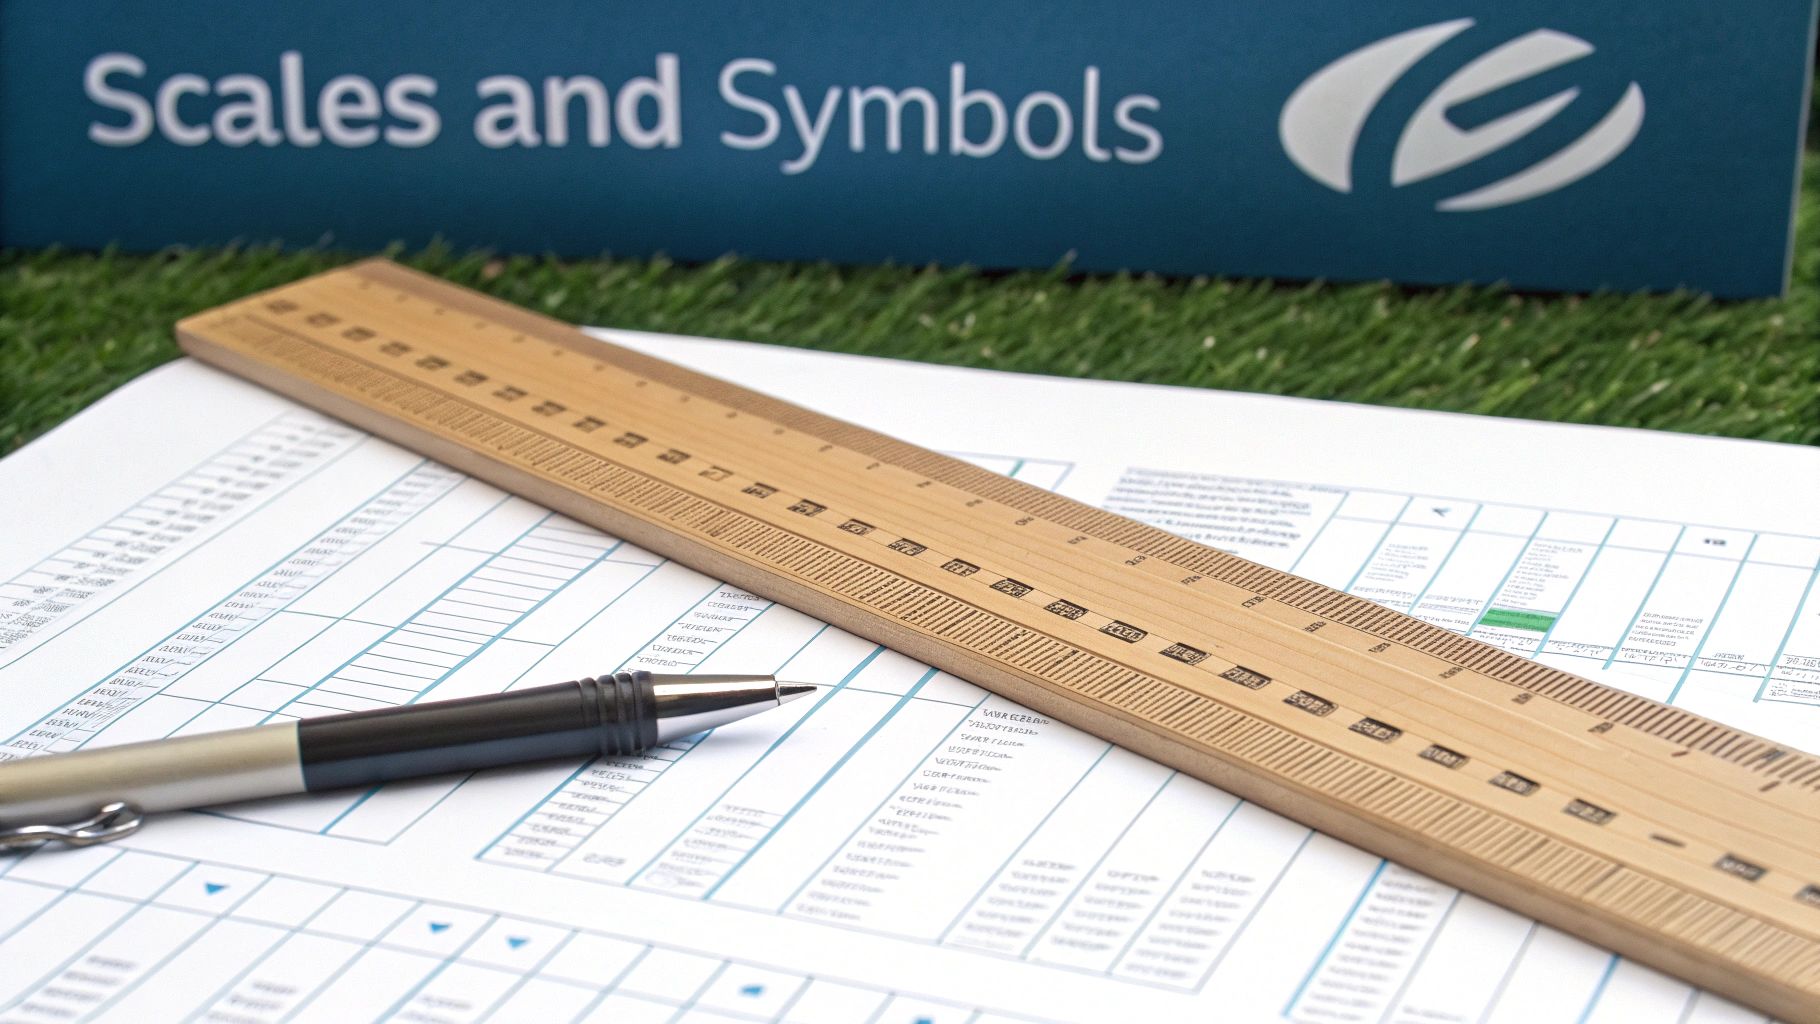
Cracking the Code of Architectural Scales
An architectural scale is simply the ratio that translates the lines on paper to their actual size once built. Without it, a drawing is just a bunch of abstract lines. You'll almost always find the scale for each drawing sheet listed in the title block, usually in the bottom-right corner.
For commercial projects, you'll run into a few common scales over and over:
- 1/8" = 1'-0": This is often used for large-scale floor plans. The main goal here is to show the overall layout and flow of a building without getting bogged down in minute details.
- 1/4" = 1'-0": A real workhorse scale. It’s perfect for most floor plans and building elevations because it offers a great balance between seeing the whole picture and still having enough clarity for key components.
- 1 1/2" = 1'-0": When you need to see exactly how something complex comes together, you'll see a detail drawing at this larger scale. It's how architects clearly show intricate connections, like how a window frame is flashed and sealed into a brick wall.
The jump from hand-drafting to Computer-Aided Design (CAD) has made understanding scale even more critical. The 1982 launch of AutoCAD was a game-changer, boosting precision by an incredible 90% in major markets. But with digital files that can be zoomed in and out, it's easy to lose perspective. In fact, misreading digital plans now contributes to 37% of construction rework, costing an eye-watering $150 billion worldwide each year. You can learn more about the evolution of drafting and how it shapes the drawings we use today.
The Universal Shorthand of Symbols
Think of symbols as a visual shorthand that keeps drawings from becoming a cluttered mess. Instead of writing "duplex electrical outlet" or "double-hung window" dozens of times, architects use standardized symbols.
A drawing without a legend is like a map without a key. The first thing you should do when you get a new set of plans is find the legend. It's your dictionary for the entire project.
The symbol legend is usually on one of the first few sheets. It decodes every symbol used in the drawing set. While there are thousands of symbols out there, you'll see a few categories on virtually every project.
Common Architectural Symbols to Know
| Symbol Category | What It Represents | Real-World Example |
|---|---|---|
| Doors | Shows the location, size, and swing direction. A simple arc indicates which way the door opens. | A line with an arc swinging into an office, indicating a 3-foot wide door. |
| Windows | The placement, type, and size. Different line patterns can show if a window is fixed, casement, or sliding. | A basic rectangle inside a wall line, representing a fixed picture window. |
| Electrical | The locations for all outlets, switches, light fixtures, and data ports. | A small circle with two parallel lines through it, marking a standard wall outlet. |
| Plumbing | The placement of sinks, toilets, floor drains, and other fixtures. | An oval shape drawn into a countertop, representing a sink basin. |
Once you learn to spot these, you can scan a floor plan and immediately understand how a space works—where people will turn on the lights, plug in their laptops, and find the restrooms.
Bringing Order with Schedules
Finally, we have schedules. In the world of architecture, a schedule isn't a timeline; it's a super-organized table that provides exhaustive detail about specific building components. It's basically a spreadsheet embedded right into the drawings.
Schedules are a brilliant way to manage repetitive items. Imagine trying to label every single door on a floor plan with its size, material, fire rating, and hardware. The drawing would be unreadable. Instead, each door gets a unique tag (like 101, 102A, etc.) on the plan.
You then flip to the Door Schedule to find every last detail for door 101. Some of the most common schedules you'll rely on are:
- Door Schedule: The master list of every door's type, size, material, fire rating, and hardware set.
- Window Schedule: Details the model, size, glazing type, and finish for every window.
- Finish Schedule: A room-by-room breakdown of finishes—wall paint color, flooring material, baseboard type, and ceiling style.
- Lighting Schedule: Specifies the manufacturer, model number, and lamping for every single light fixture.
When you need the definitive answer on a specific item, the schedule is your source of truth.
How to Review Drawings with Your Architect
Walking into a design review meeting can be intimidating, with a full set of architectural drawings spread out on the table. But having a successful meeting isn't about knowing every last symbol. It's about having a game plan. With a structured approach, you can give feedback that truly matters and make sure the final building works for you.
When you sit down with your architect, the natural impulse is to dive right into the little things. Resist it. The best way to tackle a set of drawings is to start big and work your way down to the details. I always tell my clients to think of it as a three-pass system: first, the big picture flow; second, the individual rooms; and third, all the nitty-gritty details. This keeps you from getting lost in the weeds and helps you spot major issues before they become expensive problems.
Start with the Overall Flow and Layout
Your first pass is all about the journey. Lay out the floor plan and literally trace with your finger the paths people will take. Imagine you're a customer walking in for the first time, an employee rushing to a meeting, or a delivery person trying to find the service entrance.
As you follow these paths, ask yourself some basic questions about the experience:
- Is the path obvious? Or would someone need a map to find the main conference room? Good design feels intuitive.
- Where are the traffic jams? Look for narrow hallways or intersections that are going to feel crowded during busy hours.
- How do key spaces relate to each other? Does the flow between the reception area, meeting rooms, and restrooms make sense?
Think of this first pass as reading the building's "story." You're evaluating how the physical layout will shape behavior. Don't worry about furniture or finishes just yet—focus on the permanent walls, doors, and hallways that define the core experience.
Zoom in on Room Dimensions and Function
Okay, once you're comfortable with the overall circulation, it's time for pass number two. Now you can zoom in on specific rooms and spaces. This is where you start connecting the lines on paper to how the space will actually be used every day.
Look at the dimensions and try to get a real feel for the scale. An empty box on a drawing is one thing, but reality is another. Is a 10' x 12' office really big enough for a desk, a filing cabinet, and a couple of guest chairs? Will people be able to comfortably pull out their chairs in the conference room without bumping into the wall? If you can't visualize it, ask your architect to point to a room in your current building that's a similar size.
A classic mistake is getting sidetracked by aesthetics too early. Before you even think about paint colors, ask your architect: "Walk me through a typical day in this room." This simple question forces a conversation about function, which is where you can provide the most valuable feedback.
Check the Details: Window Placement and Door Swings
Finally, it’s time for your third and most detailed pass. This is where you hunt for the small things that can have a surprisingly huge impact on how a space feels and functions. We're talking about window placement, door swings, electrical outlet locations, and storage.
Go through the plan room by room and ask pointed, practical questions.
- "How does the light change in here throughout the day?" This will tell you if the window placement is going to create glare on computer screens at 3 PM or leave a corner perpetually dark.
- "Show me exactly where we'll store X, Y, and Z." Don't just assume closets will appear. Make sure there’s dedicated, adequate storage for everything from office supplies to cleaning equipment.
- "Which way does this door swing?" A door that swings into a tight space can render half the room useless or create an awkward collision with furniture. Check every single one.
A good design review is a conversation, not a presentation. By using this method, you become a true collaborator in the process. Remember, changes on paper are cheap. Changes made once construction has started are anything but.
Common Questions We Hear All the Time
Even when you've got the basics down, a few practical questions almost always pop up during review meetings. These are the "what-if" and "how-do-I-know" queries that come from digging into the details. Getting these answers straight will give you a real boost of confidence when you're flipping through a set of plans.
Think of this as the final piece of the puzzle. You know what the different drawings are; now let's talk about how they actually work together on a fast-moving project.
"What Do All These Dashed Lines Mean?"
This is probably the number one question we get. You'll see solid lines, dashed lines, and sometimes even dotted lines, and they all mean something different. While solid lines represent things you can see—like walls, doors, and windows—dashed lines almost always point to something that's not immediately visible from that particular viewpoint.
You'll run into them in a few common situations:
- Things Above You: On a floor plan, dashed lines often show elements that are above the typical four-foot "cut" line. Think of kitchen wall cabinets, a ceiling beam, or the line of a roof overhang outside.
- Things Below You: They can also show what's hidden underneath a surface. A classic example is seeing the dashed outline of a building's foundation on a site plan.
- Things That Are Changing: In renovation work, dashed lines are your go-to for figuring out what's coming down. They’re frequently used to show walls, doors, or fixtures marked for demolition.
When in doubt, always hunt for the legend on the drawing sheets. It's the official decoder ring for what every line type, symbol, and abbreviation means for that specific project.
"How Do I Know I'm Looking at the Latest Version?"
This is a huge one. Working from an old set of drawings is a classic—and costly—mistake. The single source of truth for this is the revision block, usually found tucked into the title block in the bottom-right corner of every sheet.
Each time a drawing is officially changed and re-issued, a new line is added here. It will tell you a few critical things:
- A revision number or letter (e.g., Rev A, Rev B, or Rev 1, Rev 2).
- A quick note about what changed, like "Relocated office doors."
- The date of the revision.
- The initials of who made or approved the change.
Pro Tip: Before you walk into any meeting, make it a habit to check the revision date on your set of drawings. A quick phone call to the architect's office to confirm you have the latest issuance can save everyone a ton of wasted time and prevent decisions based on outdated information.
"How Do All These Different Drawings Fit Together?"
It can definitely feel like you're juggling a dozen different, disconnected documents. But a good set of architectural drawings is a tightly coordinated system designed to link back to itself. The trick is knowing how to follow the breadcrumbs.
For instance, a floor plan might show a wall where several different materials come together in a tricky way. Instead of trying to cram all that information onto one drawing, the architect will place a detail callout next to it. This is usually a circle with a sheet number on top and a detail number on the bottom (e.g., A501/3). That’s your signpost—it’s telling you to flip to sheet A501, find detail 3, and you'll see a magnified drawing explaining exactly how that wall is supposed to be built.
It's the same with the section cut lines you see on a floor plan. That line isn't just a random graphic; it shows you precisely where the building was "sliced" to create the section view you'll find on another page. Learning to follow these callouts is what connects the big-picture plans to the mission-critical details. It’s how all the pieces of the puzzle snap together.
At Sherer Architects, LLC, we believe clear communication is the bedrock of a successful project. We make it our job to guide clients through every drawing and decision, ensuring you feel confident and informed from day one. See how our collaborative approach brings clarity and structure to commercial, adaptive reuse, and historic preservation projects. Learn more at Sherer Architects, LLC.