
Embarking on a new building project—especially a commercial renovation or an adaptive reuse of a historic property—can feel like stepping into the unknown. It’s natural to have questions swirling around: How long will this take? What will it really cost? What exactly is my role in all of this?
But here’s the thing: the architectural design process isn't some mystical, unpredictable journey. It’s a structured, collaborative system designed to turn your big ideas into a tangible, buildable reality.
The Architect’s Blueprint: A Phased Approach to Design
Think of the design process as a master recipe. Each phase builds logically on the one before it, ensuring every crucial ingredient—from your initial goals to the most minute construction details—is added at just the right moment. This methodical approach is the key to keeping budgets in check, managing risks, and guaranteeing the final building is everything you envisioned.
This infographic gives a great high-level view of how a project flows from an initial idea to a finished building.
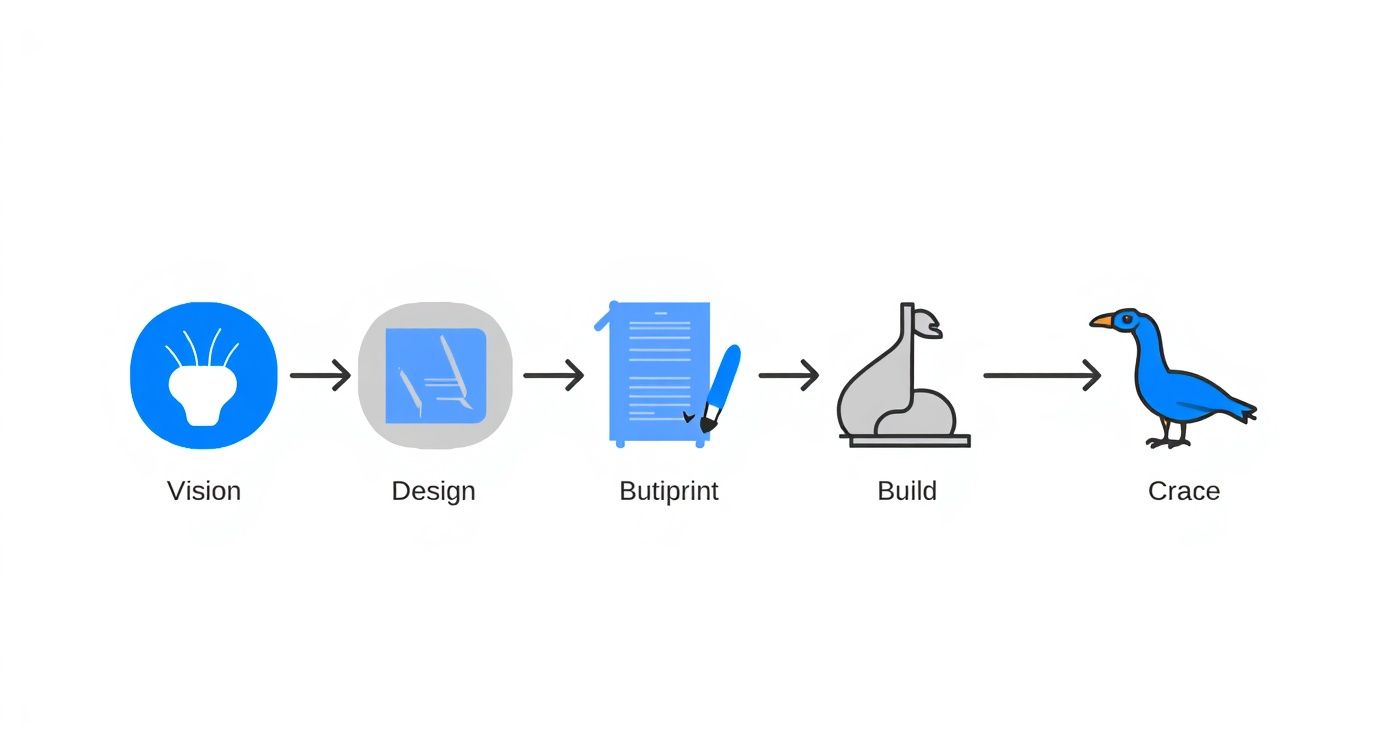
As you can see, it's a linear journey. Each step creates a solid foundation for the next, which is vital for preventing the kind of costly backtracking that can derail a project.
Understanding the Roadmap
For our clients, getting familiar with this framework is incredibly empowering. It provides a clear roadmap of what to expect and when. It also clarifies your role at each critical juncture, demystifying how your vision becomes a functional, code-compliant, and inspiring space.
A well-defined architectural process transforms ambiguity into action. It provides a reliable framework that protects the client's investment by ensuring that decisions are made logically, sequentially, and with a full understanding of their impact on cost, schedule, and quality.
To give you a clearer picture, here's a quick breakdown of what happens in each stage.
Quick Guide to Architectural Design Phases
| Phase | Primary Goal | Key Activities |
|---|---|---|
| Scripting / Programming | Define project vision, goals, budget, and functional needs. | Client interviews, site analysis, feasibility studies, defining the project brief. |
| Schematic Design | Explore broad design concepts and establish the overall look and feel. | Initial floor plans, sketches, massing studies, conceptual site plans. |
| Design Development | Refine the chosen concept and develop detailed building systems. | Selecting materials, finalizing layouts, coordinating with engineers (structural, MEP). |
| Construction Documents | Create the comprehensive set of drawings and specifications for bidding and permits. | Detailed architectural drawings, technical specs, final engineering plans. |
| Bidding / Negotiation | Select a contractor to build the project. | Issuing documents to bidders, reviewing proposals, negotiating contracts. |
| Construction Admin | Oversee construction to ensure it aligns with the design documents. | Site visits, reviewing contractor payments, problem-solving, punch lists. |
Each of these phases serves as a crucial checkpoint, ensuring the project stays on track before moving on to more detailed—and more expensive—work.
The Real-World Benefits of a Phased Process
Sticking to this time-tested workflow isn't just about ticking boxes; it delivers powerful advantages that protect your investment and drive success.
- Serious Risk Management: We tackle the big-picture concepts first and get progressively more detailed. This approach drastically reduces the risk of making expensive changes late in the game when they cost the most.
- Airtight Budgetary Control: At the end of each phase, we pause to review and approve. This gives us natural checkpoints to confirm costs and make any needed adjustments, stopping "scope creep" in its tracks.
- Crystal-Clear Communication: The phased structure creates dedicated moments for your feedback and key decisions. It keeps everyone—client, architect, engineers—on the same page, which is the best way to avoid misunderstandings down the road.
- Built-in Quality Assurance: This process allows us to systematically layer in all the technical requirements, from structural engineering to complex building codes. The result is a design that’s not just beautiful but also safe, functional, and fully compliant.
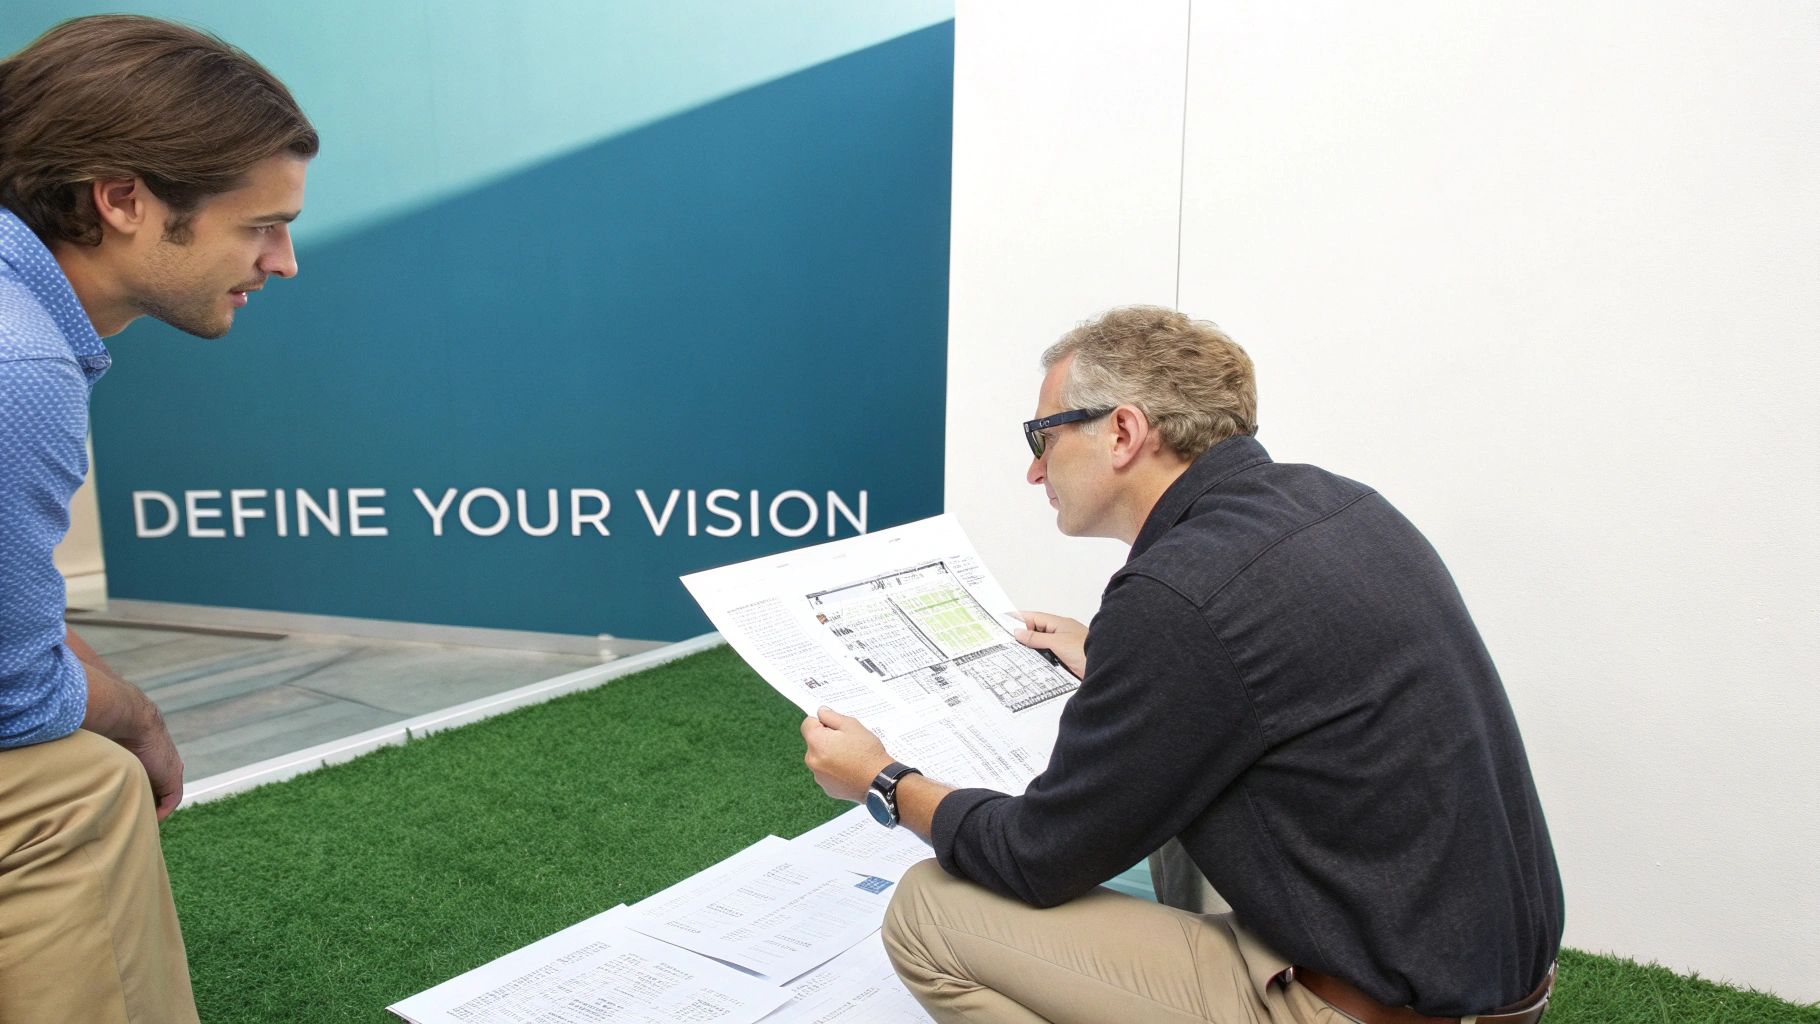
Defining Your Vision: From Scripting to Schematic Design

Every great building starts not with a sketch, but with a conversation. The earliest stages of any architectural project are all about translating your core mission—the real "why" behind it all—into a clear, buildable direction. This foundational work is broken into two distinct, but tightly connected, parts: Scripting and Schematic Design.
Think of it like creating a recipe for your building. Before we can even start thinking about what the final dish will look like, we have to meticulously list and understand every single ingredient. That's the essence of the first phase, which we call Scripting (sometimes known as Programming). It's a period of deep listening and intensive research.
The Scripting Phase: Uncovering the Project's DNA
The scripting phase isn't about how the building looks; it's about what the building does. Our main goal here is to craft a comprehensive project brief that will become our North Star for every decision that follows. This crucial document is the result of some serious investigative work.
We start by talking to everyone—conducting in-depth stakeholder interviews to grasp the needs, goals, and day-to-day realities of the people who will actually use the space. We walk the site, analyzing every opportunity and constraint, from sun angles to prevailing winds. This is also when we dive into the nitty-gritty of local zoning ordinances and building codes, which often define the boundaries of what’s possible right from the start.
To get an incredibly accurate picture of the site and its context, we often bring in modern tools. Integrating data from drones and GIS gives us precise topographical information that informs everything from building placement to infrastructure planning, making sure our first ideas are firmly grounded in reality. The final output of all this effort is a detailed "script" that outlines every functional requirement, from square footage needs to how different spaces should relate to one another.
You could say the Scripting phase is 90% investigation and 10% documentation. It’s the critical, non-visual work that prevents expensive changes down the road and ensures the final building genuinely serves its purpose. A project built on a weak script is a project destined for compromise.
Once we have that script, we have our "ingredient list." Now, and only now, can we move on to the more visual and conceptual stage: Schematic Design.
The Schematic Design Phase: Giving Ideas Their First Form
If scripting is the recipe, Schematic Design is the first rough sketch of the dish. This is where abstract requirements begin to take physical shape. We're thinking in broad strokes here, exploring the big-picture possibilities rather than getting lost in the details.
During this phase, we use a few key tools to explore and communicate these early concepts:
- Bubble Diagrams: These aren't formal plans but simple diagrams that map out the relationships and relative sizes of different spaces. They're a quick way to confirm that the functional flow of the building makes sense.
- Massing Models: We'll create simple physical or digital models to study the building's overall size, shape, and scale on its site. This helps everyone understand its visual impact and how it fits into the neighborhood.
- Basic Floor Plans and Elevations: These are the very first architectural drawings. They show the general room layouts and give a sense of the building's exterior appearance, but they are kept simple on purpose to convey the core idea for your review.
Your feedback during these initial stages is the most powerful tool you have to shape the project. The decisions made here create a ripple effect through the entire process, directly influencing the budget, schedule, and ultimate success of your building. This back-and-forth ensures the foundational concept is perfectly aligned with your vision before we move into more detailed and technical work.
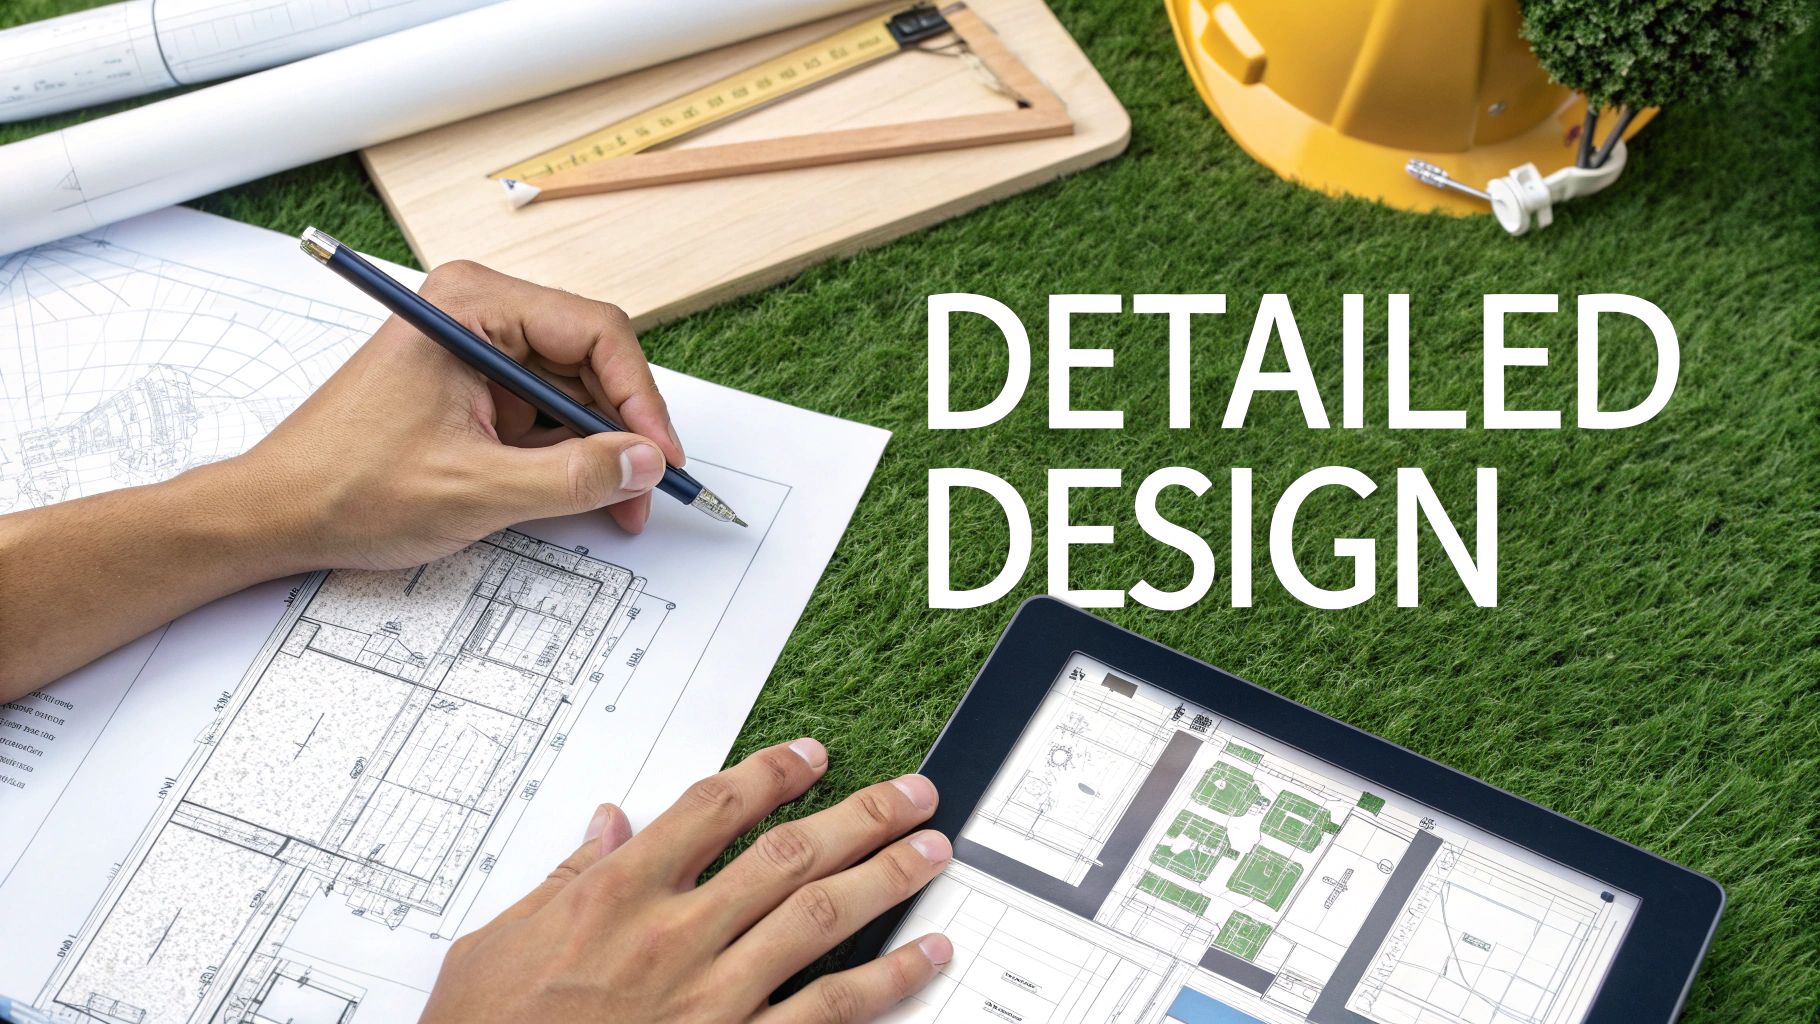
Bringing the Details Into Focus
With the schematic design approved, we have the project's big-picture vision locked in. Now it's time to shift gears from broad strokes to fine lines. The process moves from conceptual exploration into the realm of technical precision in a phase we call Design Development (DD).
Think of it this way: schematic design gave us the building's overall shape and flow. Design development is where we give it substance. We zoom in on the sketch, making the critical decisions that will define the building’s performance, its final look and feel, and its cost.
Refining the Blueprint in Design Development
During DD, we start layering in the complex systems that make a building work. This is a period of intense coordination, bringing our engineering consultants—structural, mechanical, electrical, and plumbing—deep into the fold. It’s like designing the sleek body of a car first, and now figuring out exactly how the engine, transmission, and wiring will all fit and work together under the hood.
This is a hands-on, highly collaborative phase where key decisions are made:
- Material Selection: We go from "a brick facade" to specifying the exact brick from a particular manufacturer, its color, its texture, and even the style of the mortar joints. Every single finish, from the flooring underfoot to the roofing overhead, gets pinned down.
- Structural System Definition: The structural engineer moves beyond concepts to finalize the steel or concrete skeleton of the building, calculating and specifying exact column sizes, beam depths, and foundation details.
- MEP Integration: This is a major puzzle. The engineers for the Mechanical, Electrical, and Plumbing (MEP) systems design their networks in detail. Our job is to make sure every duct, pipe, and conduit has a clear path that doesn't conflict with the structure or the architecture.
- Detailed Plans and Elevations: The simple schematic drawings evolve into something much more sophisticated. We add window and door specifications, illustrate how walls are assembled, and draw key construction connections.
The DD phase culminates in a comprehensive set of drawings that are worlds away from the initial sketches. This set is detailed enough for a contractor to provide a reliable cost estimate and serves as the rock-solid foundation for the next, most intensive part of the process.
The Design Development phase is the critical bridge between an idea and its execution. It’s where beautiful concepts are tested against hard engineering realities and budget constraints, ensuring the final building is not just inspiring, but practical and buildable.
Creating the Instruction Manual: Construction Documents
Once you approve the Design Development set, we move into the Construction Documents (CD) phase. Honestly, this is the most demanding part of the entire journey. Our team creates an exhaustive set of drawings and specifications that will become the contractor's exact instructions for building your project.
There is absolutely no room for ambiguity here. These documents are the legal core of the construction contract and are what we submit to the city to get your building permit. Every connection, every material, and every finish must be clearly and precisely documented. Getting this right is the single best way to prevent expensive mistakes and arguments on the job site.
It's amazing how much technology has changed this part of our work. Before Computer-Aided Design (CAD) appeared in the 1960s, everything was drawn by hand—a tedious process where changes were a nightmare. Digital drafting brought a new level of precision and made coordination between disciplines vastly easier, helping to slash the kind of rework that historically ate up 5-10% of a project's total cost. You can explore more about the journey of architectural design and see how technology continues to shape our field.
A full set of Construction Documents has two main parts that work together:
- The Drawings: This is the visual instruction manual. It’s a thick set of plans, elevations, sections, and countless specific detail drawings that show exactly how every piece of the building fits together.
- The Specifications Book: Often called the "Project Manual," this is a detailed written document that goes hand-in-hand with the drawings. It describes the technical requirements, quality standards, and installation methods for materials and equipment—things that can't be shown in a drawing alone.
When combined, these documents tell the complete story. They define the scope of work, the quality of materials, and the level of craftsmanship you expect. A thorough, well-coordinated set of CDs is the ultimate tool for making sure your project gets built on time, on budget, and exactly the way you envisioned it.
Navigating Approvals and Selecting Your Builder
With a complete set of construction documents, your vision is no longer just an idea; it's a precise, buildable blueprint. But before a single nail is hammered, we have to clear two major hurdles: getting the official green light to build and picking the right team to do the work.
This is where all the painstaking detail from the previous phases really shines. A rock-solid set of drawings is your best tool for navigating the often-tricky waters of Permitting and Bidding.
Securing Your Permit to Build
No one can start construction without a permit. It's the official blessing from your local city or county, sometimes called the Authority Having Jurisdiction (AHJ). We submit our detailed documents, and their reviewers comb through them to ensure everything is up to code—from zoning and fire safety to structural integrity and accessibility.
Think of it as the city’s final safety check. They’re making sure the building will be safe for everyone who uses it. The timeline for this can be a real wild card. A simple interior fit-out might get a permit in a few weeks, while a complex new building could take months. The cleaner and more complete our submission, the faster we get through.
If your project involves a historic building or sits within a special design district, things get a bit more interesting.
- Design Review Boards (DRB): These committees are the aesthetic guardians of a neighborhood. They want to see that your project fits in and respects the local character. Our job is to tell the story of the design and show them how it enhances, rather than detracts from, the area.
- State Historic Preservation Offices (SHPO): When working with a designated landmark, the SHPO gets involved. They need to sign off on any changes to make sure the building's historic soul isn't lost. This requires a deep knowledge of preservation standards and incredibly detailed documentation.
The key to getting through these reviews smoothly is to be proactive. We talk to the board staff early and often, anticipating their questions and building a compelling case for the project from day one. It makes a world of difference.
Finding the Right Contractor Through Bidding
While we’re waiting on the permit, or right after it’s issued, it’s time to find the builder. This is the bidding phase, and the goal is straightforward: get clear, apples-to-apples pricing from a handful of qualified contractors.
This is exactly why the construction documents have to be so detailed. When every material, fixture, and finish is spelled out, builders aren't left guessing. They’re all bidding on the exact same project, which ensures you get fair, competitive pricing.
During the bidding process, the architect acts as the central hub of information. We field all the questions from the contractors and send out clarifications to everyone at once. This keeps the process fair and transparent, protecting you from surprises and ensuring the bid you choose is the right one.
When it comes to picking a builder, you generally have two options:
- Competitive Bidding: This is the classic approach. You invite several qualified contractors to the table, they submit their best price in a sealed bid, and you typically award the job to the lowest qualified bidder. It’s a great way to let the market set the price.
- Negotiated Contract: Alternatively, you can select a contractor you trust early in the process, sometimes even during design development. They join the team as a consultant, providing real-time cost feedback as the design takes shape. The final price is then negotiated directly.
Which path is best really depends on your project’s priorities—whether cost certainty, a fast-tracked schedule, or a specific team dynamic is most important. No matter which route you take, our goal is to help you find a skilled, reliable partner to carry the project over the finish line.
Keeping the Vision Intact: From Blueprint to Building
Once the city gives its blessing and you’ve chosen your builder, the project shifts from paper to the real world. This is the Construction Administration (CA) phase, and it’s where all the careful planning finally takes shape. Your architect’s job changes dramatically here. We step back from the drawing board and become your on-site advocate—your expert eyes and ears, making sure the vision we all worked on is executed flawlessly.
It's a common misunderstanding that architects "supervise" construction. That’s not quite right. The contractor is the master of the job site; they’re responsible for the crew, the schedule, safety, and all the day-to-day building activities. Our role is to observe the work as it progresses to ensure it matches the design documents.
Think of us as the conductor of an orchestra. The construction documents are the musical score, and all the skilled trades—plumbers, electricians, masons—are the musicians. The conductor doesn’t play every instrument, but they make sure everyone is playing from the same sheet music, in tempo, and creating a beautiful, cohesive symphony. That oversight is what protects your investment and turns a great design into a great building.
The Architect’s Role on the Job Site
Active, hands-on involvement during construction is the last line of defense for design integrity. It’s a dynamic, fast-paced process of site visits, detailed reviews, and quick thinking. A lot can happen between breaking ground and handing over the keys.
Here’s what our team is typically doing:
- Walking the Site: We’re on-site regularly to see the work firsthand. These visits are crucial for spotting small issues before they snowball into expensive problems.
- Reviewing Submittals: Before a single brick is ordered or a window is fabricated, the contractor sends us product data and samples for approval. We check everything to make sure it’s exactly what was specified in the plans.
- Answering Questions (RFIs): No set of drawings can anticipate every single question that comes up on a job site. When the contractor sends a Request for Information (RFI), we provide clear answers and sketches to keep the work moving forward.
Protecting Your Bottom Line
This phase is where we guard your budget and schedule. A huge part of our job is reviewing the contractor's monthly applications for payment. We walk the site to verify how much work has been done and what materials have been delivered, ensuring the bill you receive is fair and accurate. This simple step prevents you from paying for work that hasn't been completed.
And let’s be honest—surprises happen. This is especially true in adaptive-reuse and historic preservation projects. When a crew uncovers a hidden structural problem or an unexpected site condition, we jump in. We work side-by-side with the contractor to come up with a solution that honors the design, respects the budget, and keeps the project on track. This kind of on-the-fly problem-solving is at the heart of good construction administration.
Change Orders are a formal part of any project, but they shouldn't be a constant source of anxiety. Proactive architects anticipate potential issues and solve them collaboratively in the field, which minimizes the need for costly official changes and keeps the project humming along.
This hands-on approach has deep historical roots. The “master builder” of the 19th century became a thing of the past as buildings grew more complex, leading architects to focus more on design. In the early 1900s, architects stayed involved through construction on about 60-70% of projects. But by 2000, that number had plummeted to just 25-35% as builders took on more project management. Today, the industry is rediscovering just how vital it is to have the architect involved until the very end. You can learn more about this in the historical evolution of the architect's role.
From Punch List to Grand Opening
As construction nears the finish line, our attention turns to the fine details. We’ll do a thorough walkthrough with you and the contractor to create a punch list—a final to-do list of every last item that needs to be fixed or finished. It could be anything from a tiny paint scuff to a misaligned cabinet door.
Once every item on that list is checked off, we manage the project closeout. This means collecting all the warranties, instruction manuals for new equipment, and final lien waivers from the contractor. Finally, we issue a Certificate of Substantial Completion. This document officially marks the end of construction and the start of the building's new life.
This is the moment it all comes together. The keys are handed over, and the building that started as just a conversation is now a real, functional space, ready to serve its purpose for years to come.
Common Questions About the Architectural Design Process
https://www.youtube.com/embed/DdoRp_TMtg4
Even with a detailed map of the design phases, it’s completely normal to have questions before starting a major building project. Getting these details sorted out early on helps everyone plan better and gives you the confidence you need as we get started. Here are some of the most common questions we hear from clients.
How Long Does the Architectural Design Process Typically Take?
There’s really no one-size-fits-all answer here. The real timeline depends on the project's size, how complicated its systems are, and, frankly, how quickly the local building department can review the plans.
For a gut-check, a straightforward commercial interior refresh might take 3 to 6 months to get from our first conversation to having permit-ready documents in hand. A brand new, mid-sized commercial building? You’re probably looking at 9 to 18 months of design work before a shovel ever hits the ground.
Projects with extra layers, like a historic preservation or a complex adaptive reuse, will naturally take longer. The two biggest wild cards are always how quickly you, the client, can make key decisions and how backed up the local permitting office is. We’ll always work with you to map out a realistic schedule right at the beginning.
What Is the Client’s Role During the Design Process?
You are, without a doubt, the most important person on the team. Your vision is the fuel for this entire engine, and your decisions keep it moving forward. Your involvement is especially crucial at specific moments when the project could go in several different directions.
Your main responsibilities will be:
- Sharing Your Vision: In the very beginning, your understanding of your business needs and long-term goals is what we build everything on.
- Making Timely Decisions: When we present you with design options, clear and decisive feedback is what keeps the project from getting bogged down.
- Giving the Final Go-Ahead: At the end of the day, you’re the one who signs off on the final design, the budget, and the key materials before we move into construction.
The best projects always come from a real partnership between an engaged client and their architect. Think of us as your expert guide and advocate—we’re here to translate your vision into reality, but you’re the one steering the ship.
How Are Architectural Fees Usually Structured?
While there are a few ways to structure fees, the industry standard for most commercial projects is a fixed fee, which we break down by project phase. This gives you cost certainty right from the start and ties our payments directly to tangible progress. You'll typically get an invoice from us as each major design phase wraps up.
A common payment schedule often looks something like this:
- Schematic Design: 15% of the total fee
- Design Development: 20% of the total fee
- Construction Documents: 40% of the total fee
- Bidding & Construction Administration: The remaining 25%
This is all spelled out clearly in the professional services agreement we sign before any work begins. No surprises, no guesswork—just total transparency.
What Are the Biggest Risks and How Can We Manage Them?
A huge part of our job is spotting and managing risks before they become real problems. The big ones usually fall into three buckets: budget, schedule, and unforeseen site conditions.
The most common budget-killer is "scope creep"—that’s when little additions and changes start piling up, pushing the project beyond its original plan. We fight this by constantly referring back to the clear goals we set together at the very beginning. Schedule delays are often tied to waiting on decisions or getting stuck in the permitting process.
With renovation and adaptive-reuse projects, the biggest risk is always what’s hiding behind the walls. We get ahead of this by doing intensive site investigations upfront and, most importantly, building a solid contingency fund into the budget. This is typically 10-20% of the construction cost, set aside specifically to handle those inevitable surprises. For more great insights into architectural practices, you can check out resources like Timbercloud's Blog.
At Sherer Architects, LLC, we’re here to guide you through every step of this journey, turning complex challenges into buildings that are beautiful, functional, and built to last. If you’re thinking about a commercial, adaptive reuse, or historic preservation project, let’s start a conversation about your vision.